UI tour
The main AgenticHub screen typically combines a left asset console and a large right workbench: the left side handles templates, instances, resources, and tasks; the right is chat-first, with a top action bar and bottom input for orchestration and execution. If you arrive from other OpenCSG modules, platform-level navigation may still be visible. Below, the home layout is broken down by area, then templates, instances, tasks, and resources.
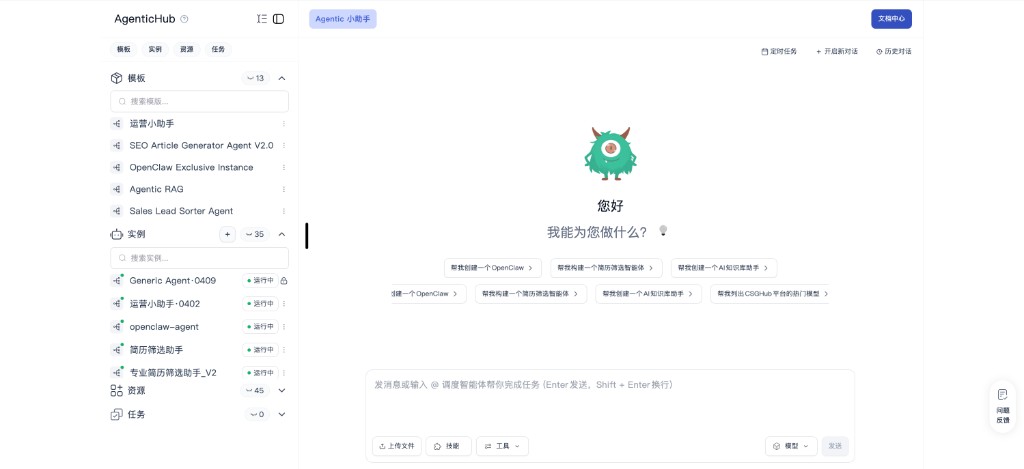
Main screen overview
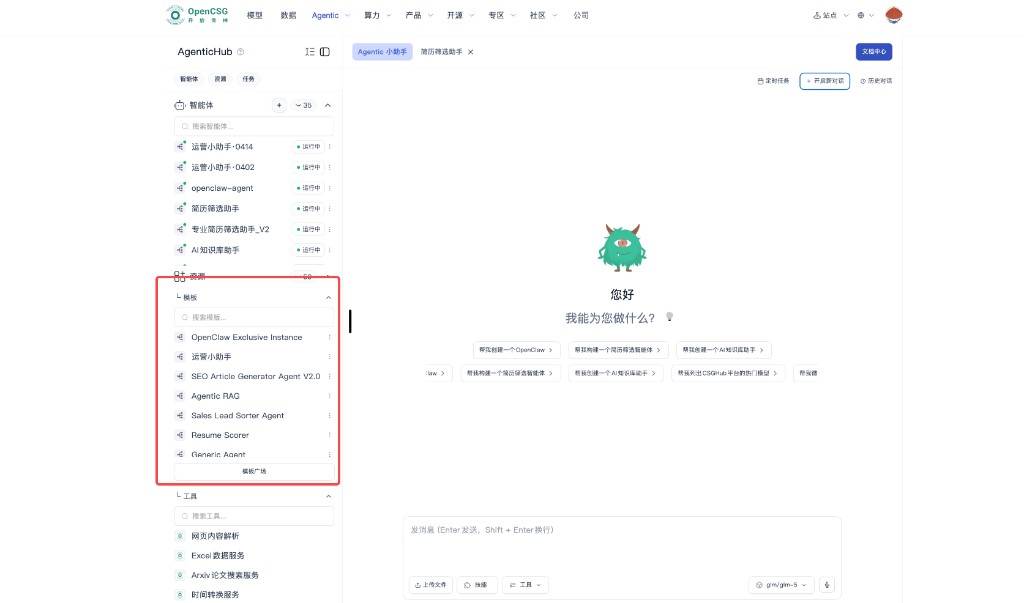
- Left brand area — AgenticHub branding; below it, tabs for Templates, Instances, Resources, and Tasks to switch the sidebar context.
- Templates — A search box and count are often at the top of the list; below are preset or shared template names, each with a “more” menu for run or management actions.
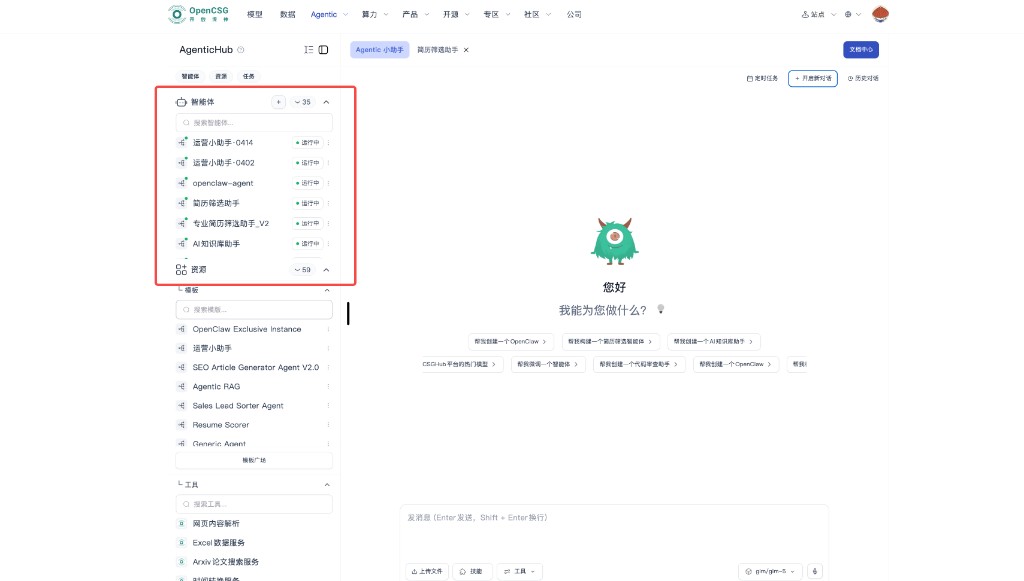
- Instances — Search and count at the top; a plus next to the group title is often for new instance. The list shows agent names and status (e.g. running); a lock may indicate private or restricted access—see the live product.
- Resources and tasks — Same collapse/search pattern; a count on the group title when collapsed helps you see if work is needed.
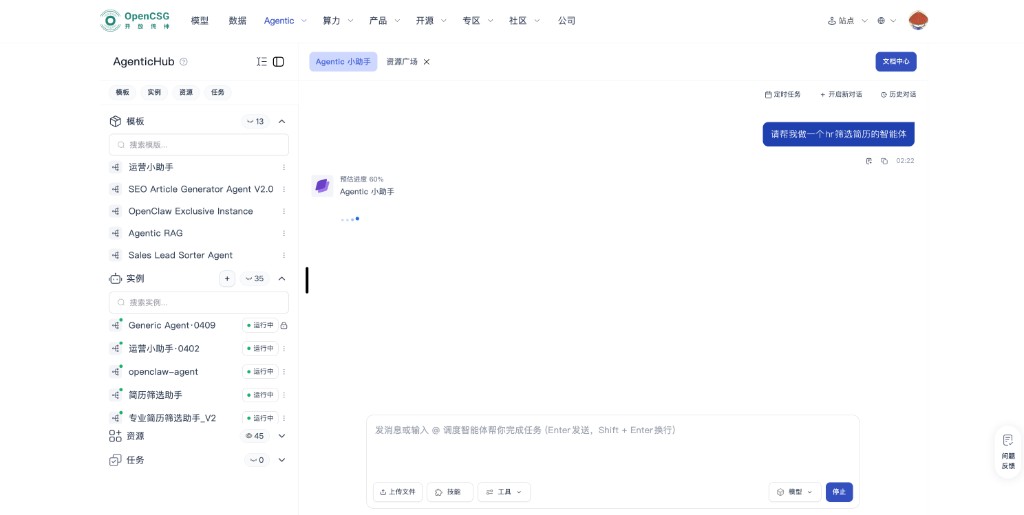
- Current session — The main area often shows a label for the current object, e.g. the Agentic assistant, distinct from open instance tabs.
- Top-right of main area — Scheduled tasks, New conversation, and History (periodic work, reset context, and past sessions). Docs or help may be further right.
- Empty state — Mascot and greeting, e.g. “What can I do for you?”; shortcut chips for common requests such as create OpenClaw, build a resume-screening agent, create a knowledge assistant, or list popular models—wording is environment-specific.
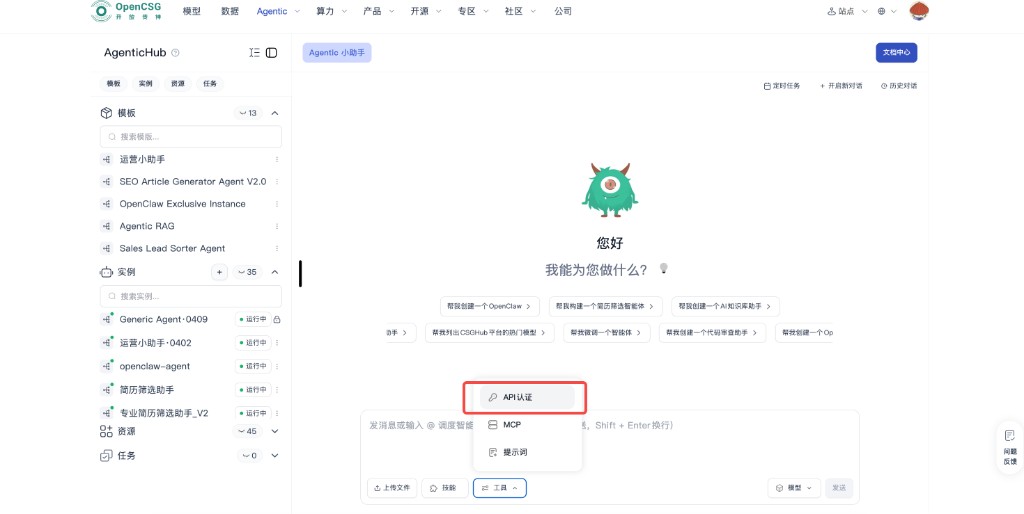
- Bottom input — Placeholder usually says you can send a message or use @ to bring in other agents; Enter to send, Shift+Enter for newline. Left side: upload, skills, tools; Tools can open API auth, MCP, prompts, etc. On the right: model selector, voice input (microphone), and send—dictation fills the box as text before you send. See Voice input for prompts.
- API credentials — If an agent or skill needs keys or auth for an external service, use Tools → API auth on the current page instead of a separate complex settings page.
- Feedback — A floating feedback entry is often in a corner of the page.
Screenshots of a typical main-screen flow (step order is for this doc; match to the product UI):
Tools menu and API authentication — to configure identity or keys for an external service, open Tools in the bottom bar, then API auth.
The following sections cover templates, instances, tasks, and resources: what they mean and how to use them.
Templates
A template is the blueprint of an agent: core logic, model, tools, and orchestration. Teams can spin many instances for different scenarios or customers from one template.
- Reusable agent designs.
- Custom parameters, model choice, and tool combinations.
- Can be shared in the team or community.
How to use
- Browse templates in the left list.
- On a template, use Run (or equivalent) to open the instance creation panel.
- Fill in instance details to create a new agent instance from that template.
Instances
An instance is a concrete running form of a template, inheriting its logic with your config. Each instance can chat, take files, and call tools independently.
- Created from a template; config can change per instance without affecting others.
- Natural language, files, and tool calls.
- Can be tuned in orchestration or at runtime.
How to use
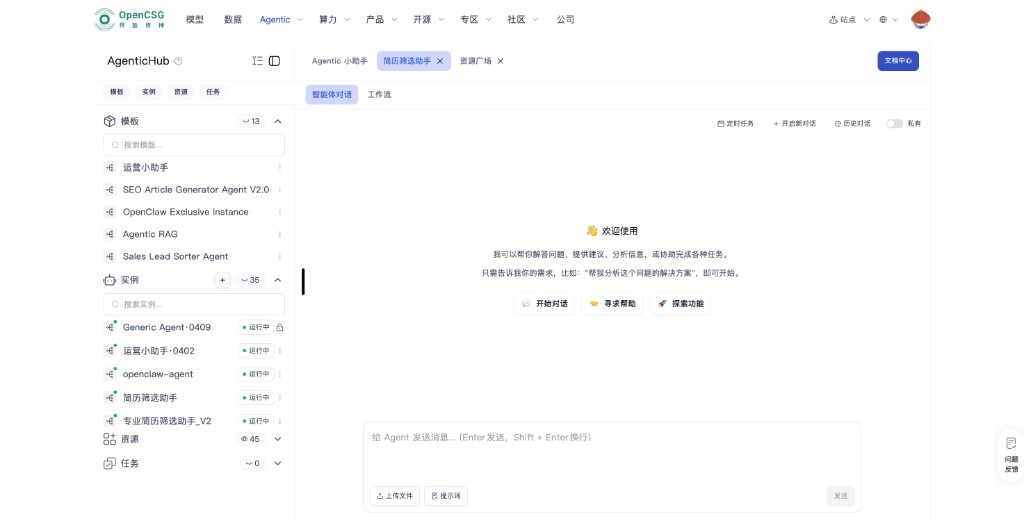
- Select an instance in the left list.
- Open its tab in the main area, e.g. Agent chat or Workflow.
- Chat with that agent or run tasks in the tab.
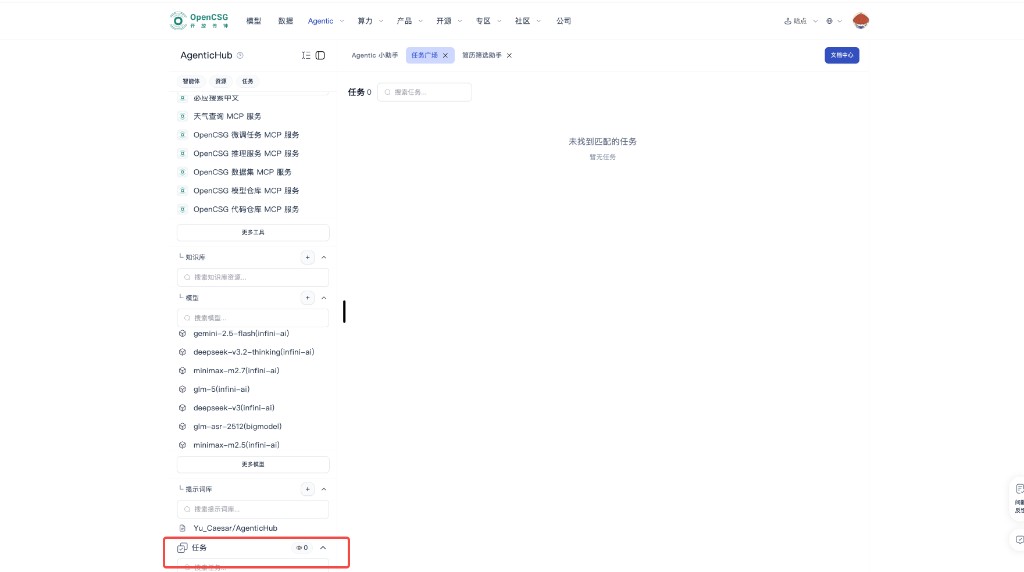
Tasks
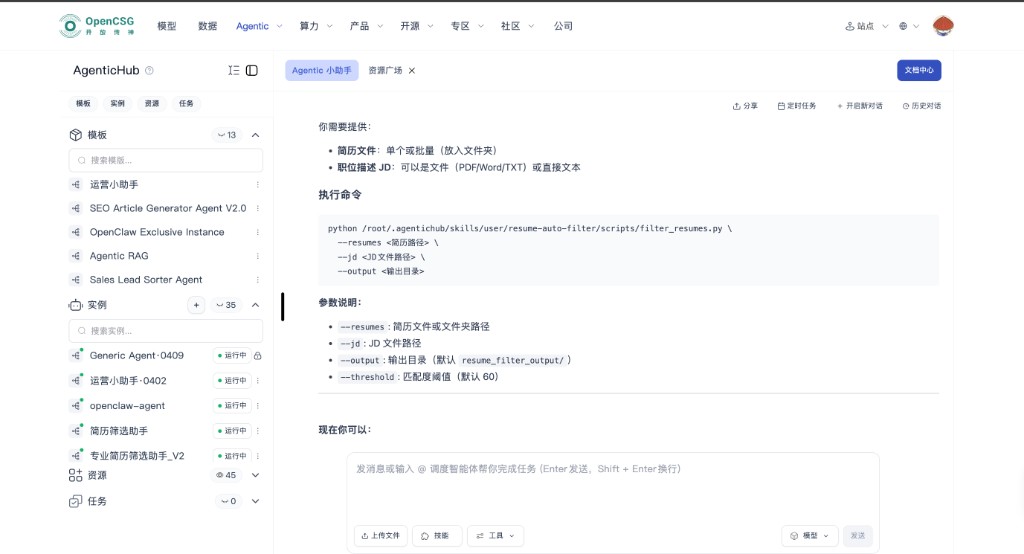
Tasks are often created from Agentic assistant flows; they have names so you can find them in a list and open details.
- Suited to trackable, tunable work items.
- Searchable by name, type, etc.
- State is visible in list or detail.
How to use
- Pick a task in the left list.
- The corresponding task tab opens on the right.
- Read details and results in the tab.
Resources and resource gallery
The resources area is where you pick tools, knowledge bases, models, and prompts when creating or configuring instances; together with the resource gallery, it centralizes discovery and maintenance. The four sub-areas below.
Tools
Tools extend instances with external capabilities. When creating an instance, attach tools to match the goal; you can also open Resources or the gallery to browse the platform tool list.
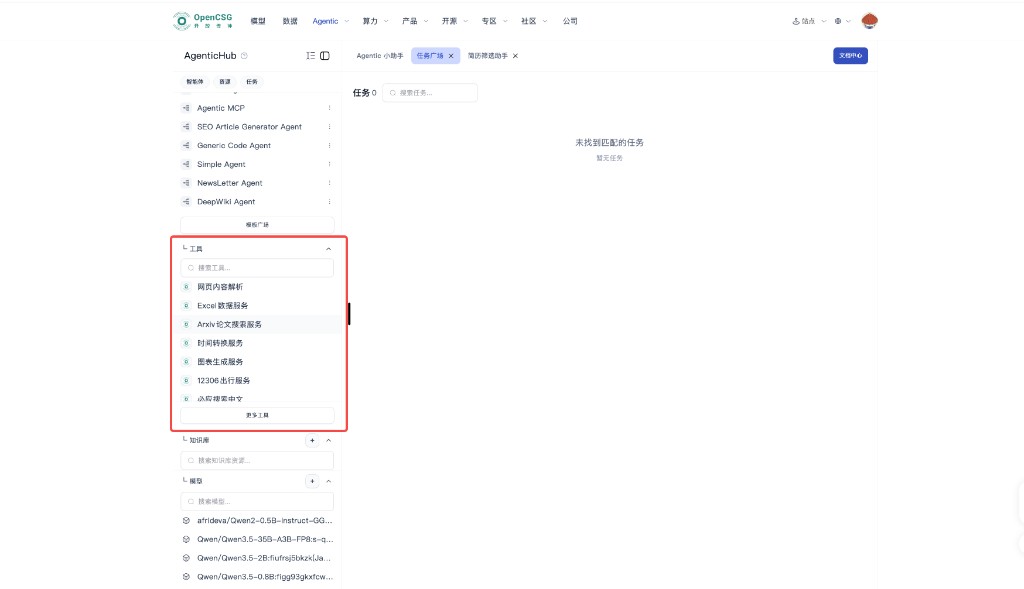
- Many MCP and similar services for different needs.
- Each tool often has a Configure page for connection and auth.
- User-created tools usually support edit and delete.
How to use
- Expand Resources on the left and open Tools.
- Open Configure to view name, description, keys, and values, and complete the form.
- Use New to add a tool library or external tool.
Knowledge and search
Knowledge bases supply reference material for instances: retrieval, document Q&A, analysis, and preview.
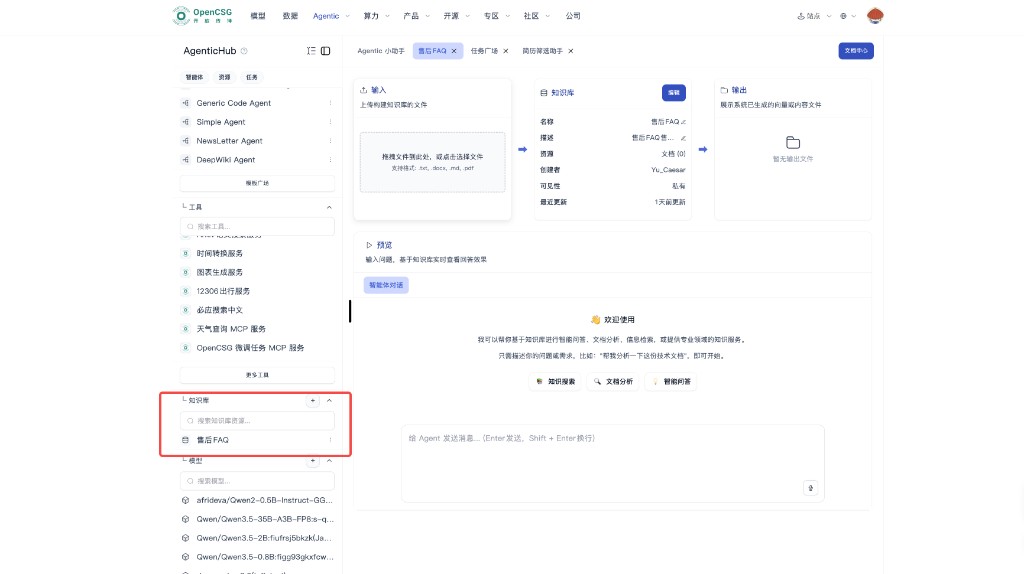
- Multiple libraries with clear lists and search.
- Upload txt, docx, md, pdf, etc., to build retrievable content.
- Preview can run Q&A, search, and analysis on the content.
How to use
- Select an existing knowledge base in the list or create one.
- In the center, upload or drag in documents to build or edit.
- In the preview, ask questions for Q&A, search, or analysis.
Models
The model area lists LLM resources for instances or workflows.

- Shows available and recommended models for comparison.
- Search by name to find faster.
- Name and source help distinguish options.
How to use
- Browse or search the left list.
- Pick a model for load, quality, and cost.
- When creating an instance or workflow, bind that model as the main reasoning model.
Prompt library
Prompts are organized in repositories for reuse across scenarios.
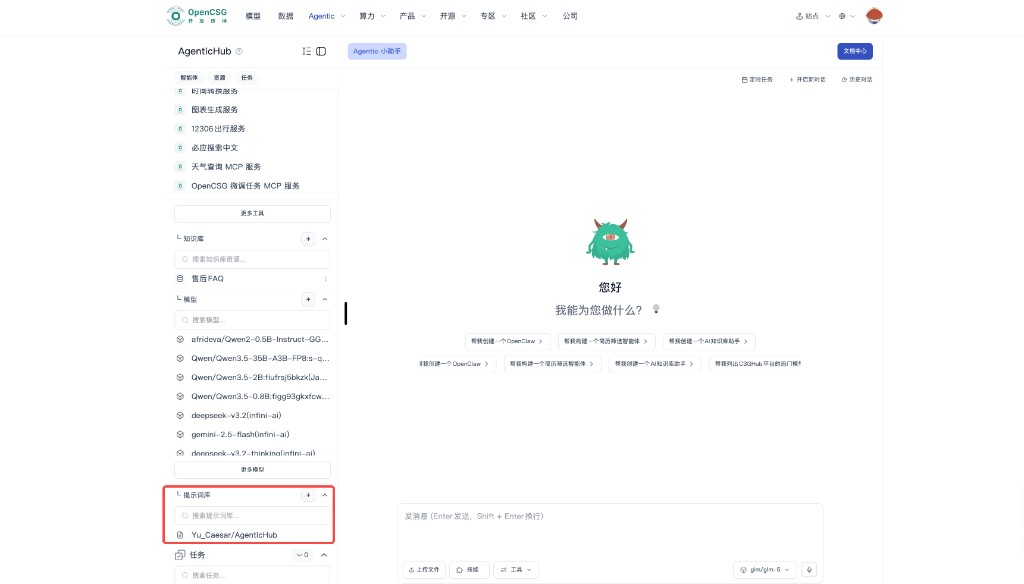
- Repo layout keeps structure clear and reuse easy.
- Search speeds lookup.
- Long-term improvement makes prompts part of instance capability.
How to use
- Browse or search the prompt list, or create a dedicated repo.
- Match prompts to the business scenario and instance.
- When creating an instance or workflow, select the prompt library.
Summary
The left rail lists templates, instances, tasks, and resources with search; the main area uses tabs for the Agentic assistant vs. specific instances, with shortcuts in the empty state; the top bar covers scheduling and history; the bottom bar combines upload, skills, tools, model, and @ routing; API auth in tools handles identity and keys in-session. New users can try a shortcut chip first, then open resources or return to the left list to manage instances.