Skills
A Skill in AgenticHub is a reusable unit—common for resume screening, knowledge search, text processing, and building dedicated agents. You can evolve skills in three ways: skill-creator (natural language to a first testable version), in-repo file editing in the skills repository, or Git clone, local dev, and push. Menus follow production.
Terms and objects
- Skill — A module you mount on an agent or flow; usually defines inputs, outputs, and business rules.
- skill-creator — For users who prefer description over heavy config: natural language drives generation and iteration.
- Skill repository — Central place to store and distribute skills: create your own or search shared content and get Git URLs.
UI screenshots
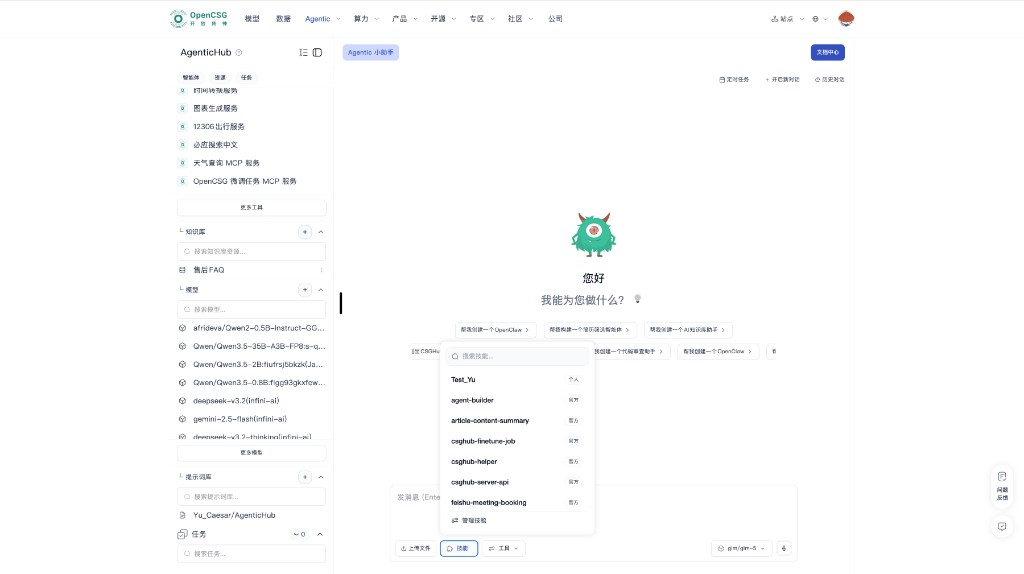
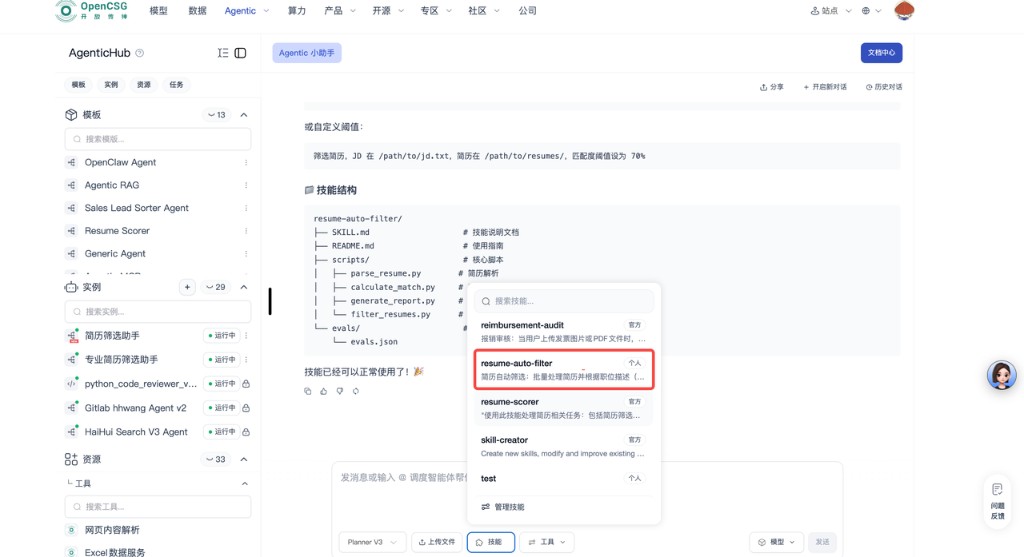
In the bottom input bar, open Skills to search and pick personal or official skills, and use Manage skills for maintenance. Wording and layout follow production.
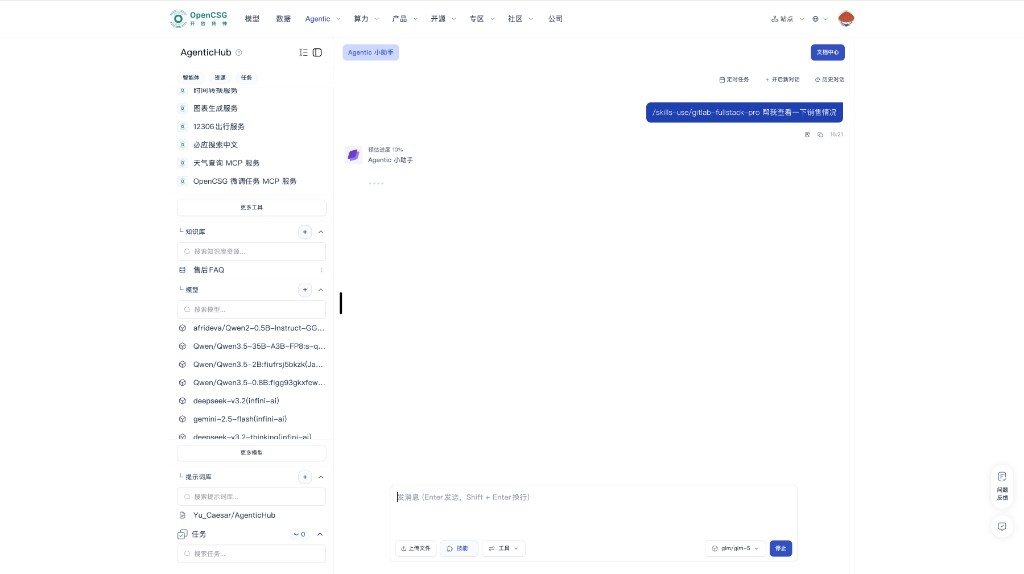
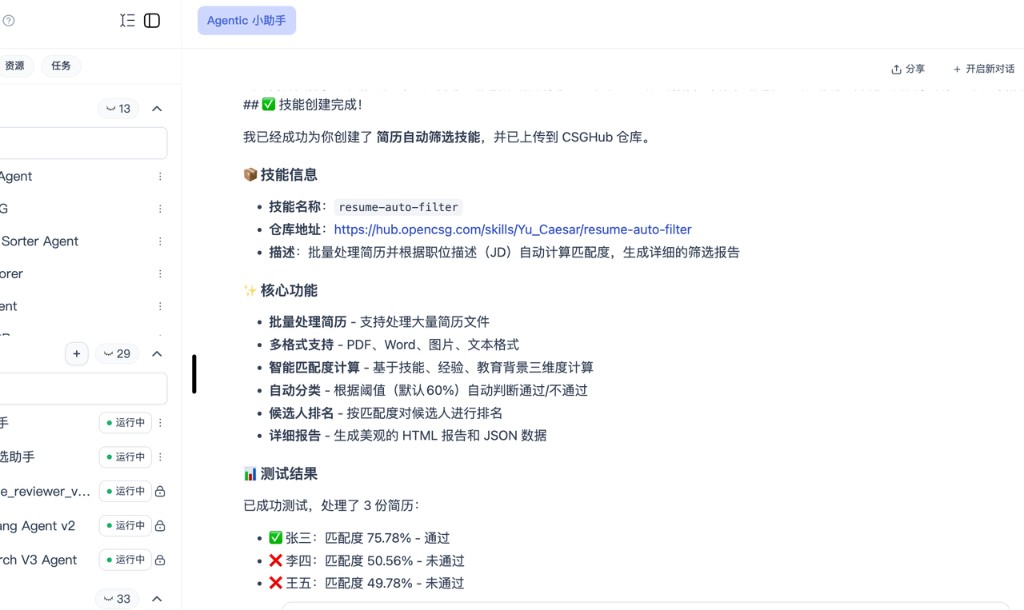
You can also invoke a skill from the input with /skills-use/<skill-name> plus your request. Below: example chat and progress.
Create a Skill with skill-creator
Best for quickly validating an idea with minimal file work. Sign-in: Account and environment.
Steps
-
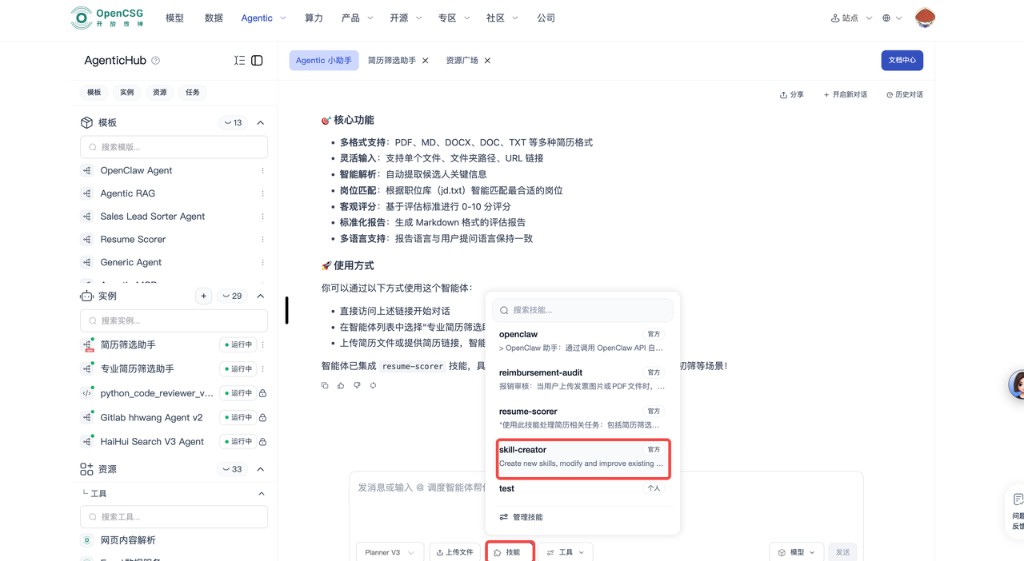
Open skill-creator from the main or skills navigation.
-
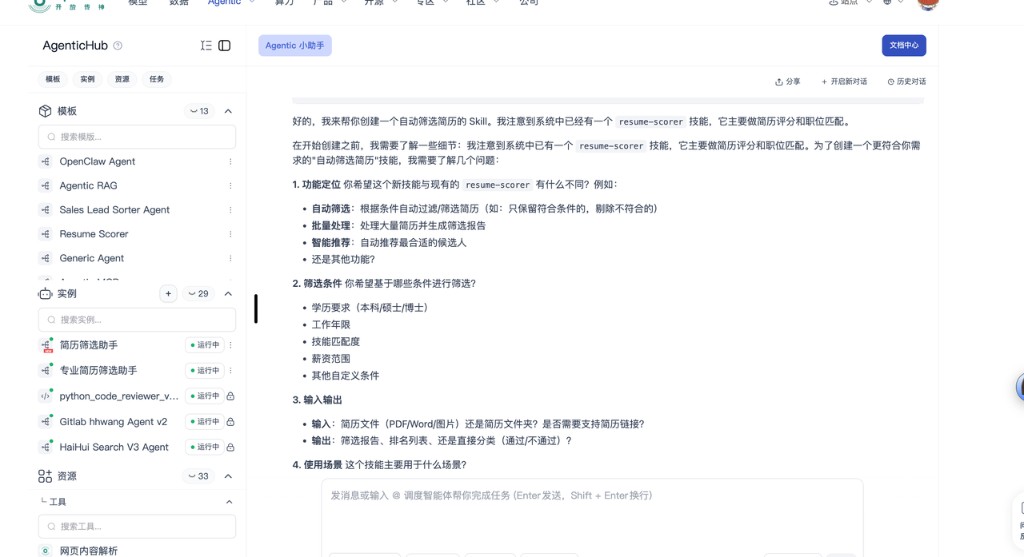
Describe inputs, outputs, and core logic; if the write-up is too vague, the system will ask follow-ups.
-
After the first version, find the skill in the skill bar or similar.
-
Fill invocation URL or sample params, send a test; refine in natural language or move to in-browser file editing for fine control.
-
When it works, complete name, description, visibility, then use privately or publish.
Notes
- Be explicit about data shapes and edge cases; avoid hand-wavy words.
- Before wide publishing or production use, regression-test on multiple examples.
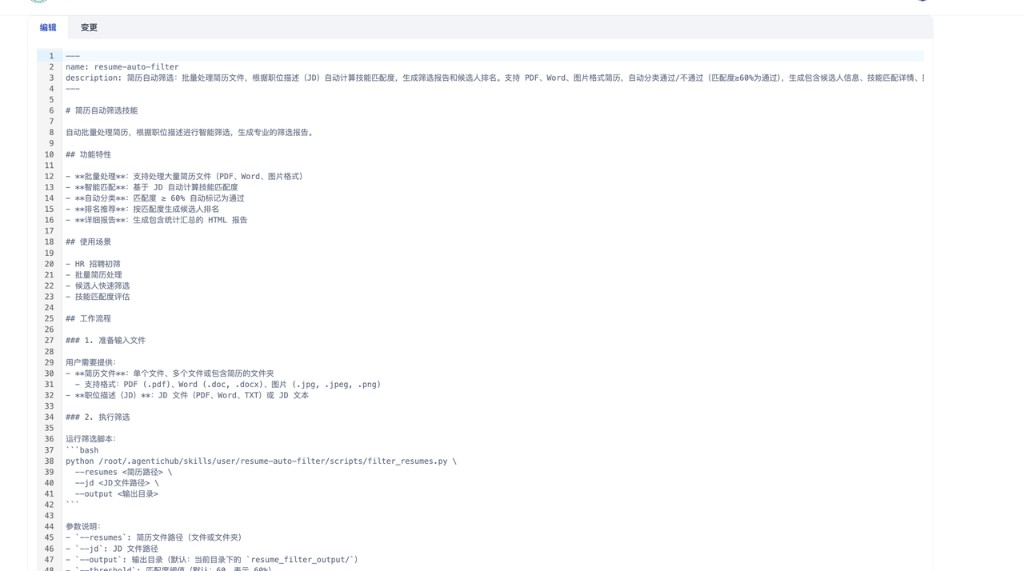
Edit in the skills repository
Best for users comfortable with JSON, YAML, XML, and full control of layout and API definitions.
Steps
-
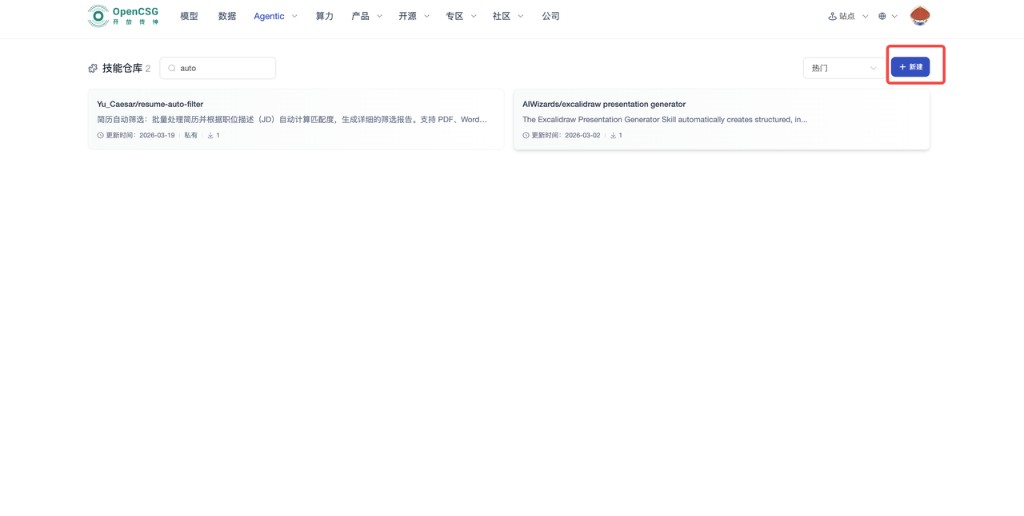
Open Skills → Repository, New (often top right).
-
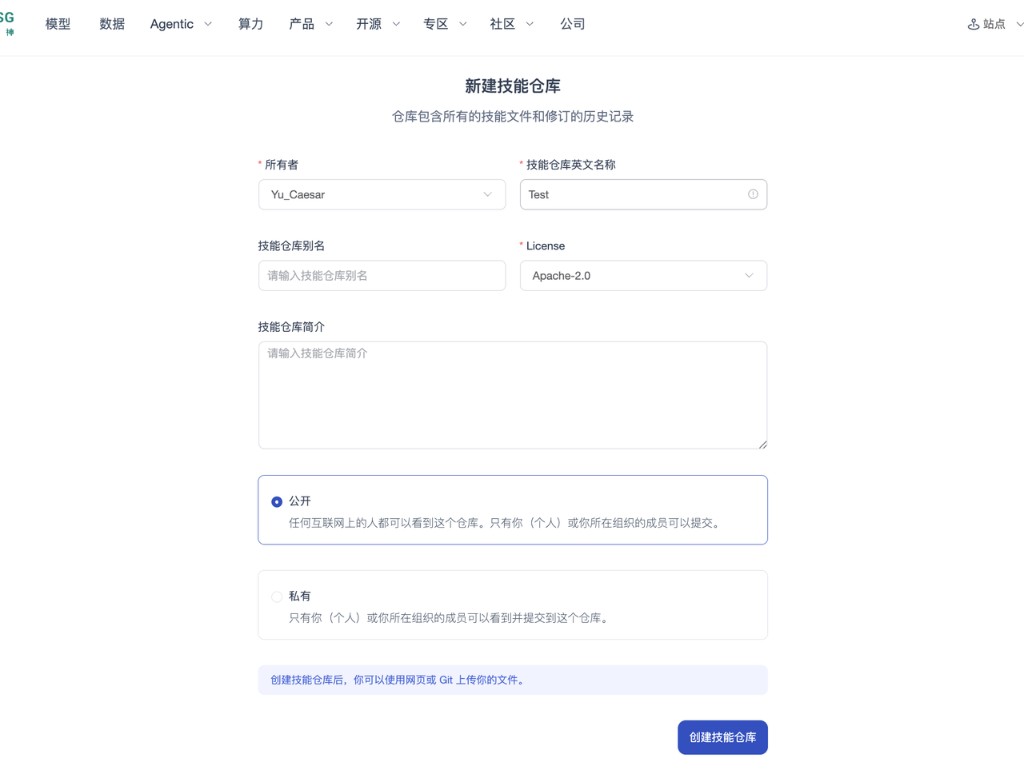
Set repo name (English is recommended to match Git habits), license, and other metadata, then open the editor.
-
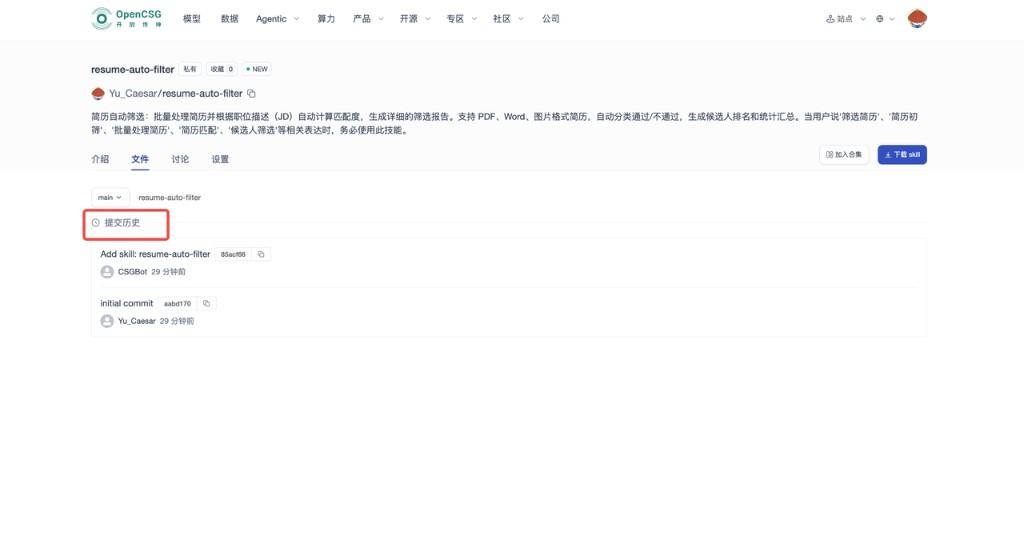
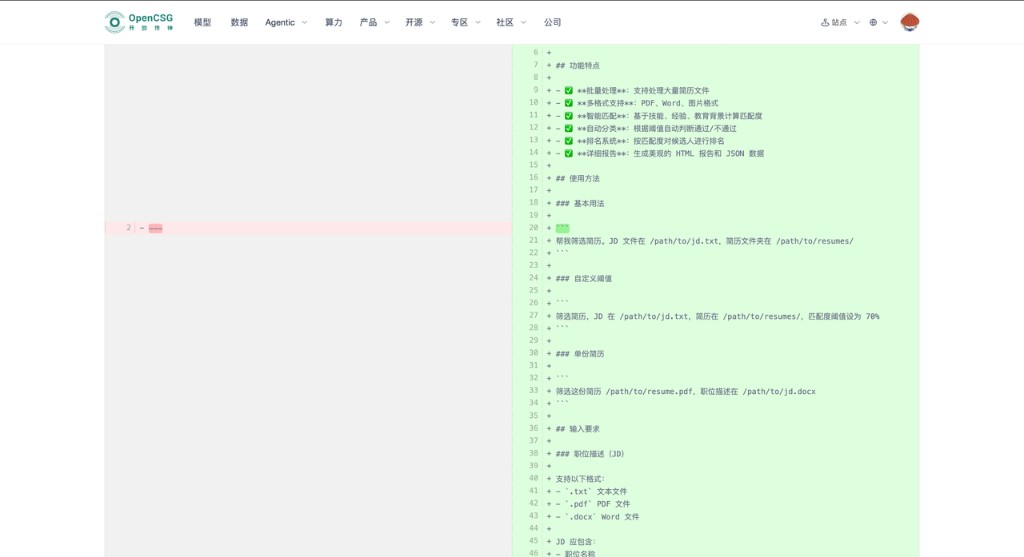
Maintain skill definitions and scripts to platform rules; each save has history for diff and rollback.
Prerequisites
- Think through inputs, outputs, error codes, and timeouts before large edits.
- Use editor plugins or linters to validate syntax before save.
Clone with Git, develop locally, push
Best for teams forking public or community skills and using local IDEs and branches.
Prerequisites
1. Install Git
- Windows — Download the installer from the Git website and complete the wizard; enable the option to add Git to your PATH so
gitworks in a terminal. - macOS — In Terminal, run
brew install git(Homebrew required). - Linux — On Ubuntu/Debian,
sudo apt-get install gitis typical; on CentOS-style systems,sudo yum install git(commands may vary by distribution).
Run git --version and confirm 2.20 or newer.
2. Configure your Git identity
In a terminal or command prompt, set a global name and email that match the Git identity bound to AgenticHub (OpenCSG); otherwise clone or push may fail:
git config --global user.name "Your Git username"
git config --global user.email "Your Git email"
Run git config --list to verify.
3. Get the clone URL
In the skill warehouse, open the public skill’s detail page and copy the HTTPS or SSH URL from Download skill (or equivalent) for git clone.

Steps
-
git cloneto a local folder.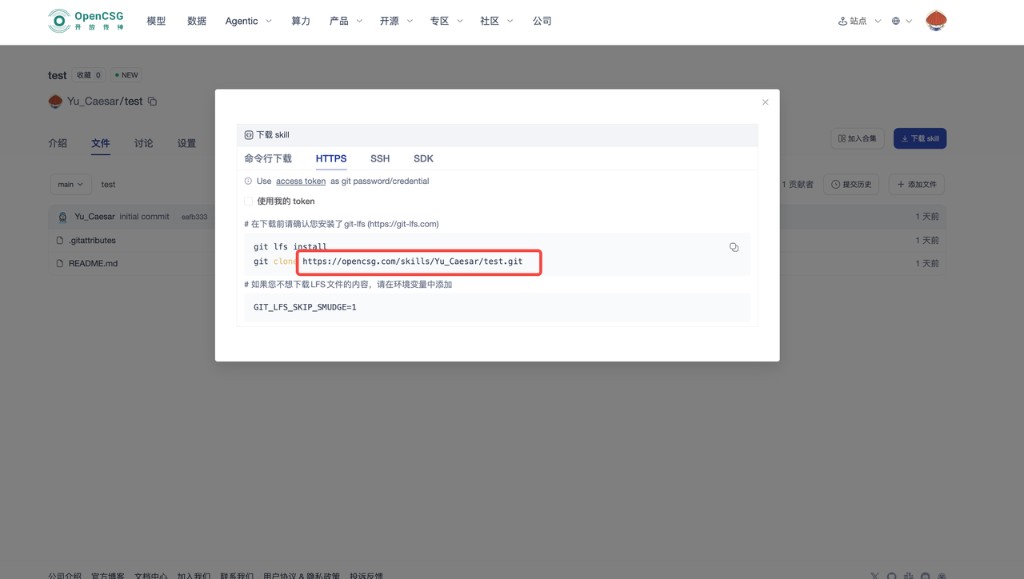
-
Edit core config (often
skill_config.jsonorskill.yaml—use what the repo uses); bump version and changelog.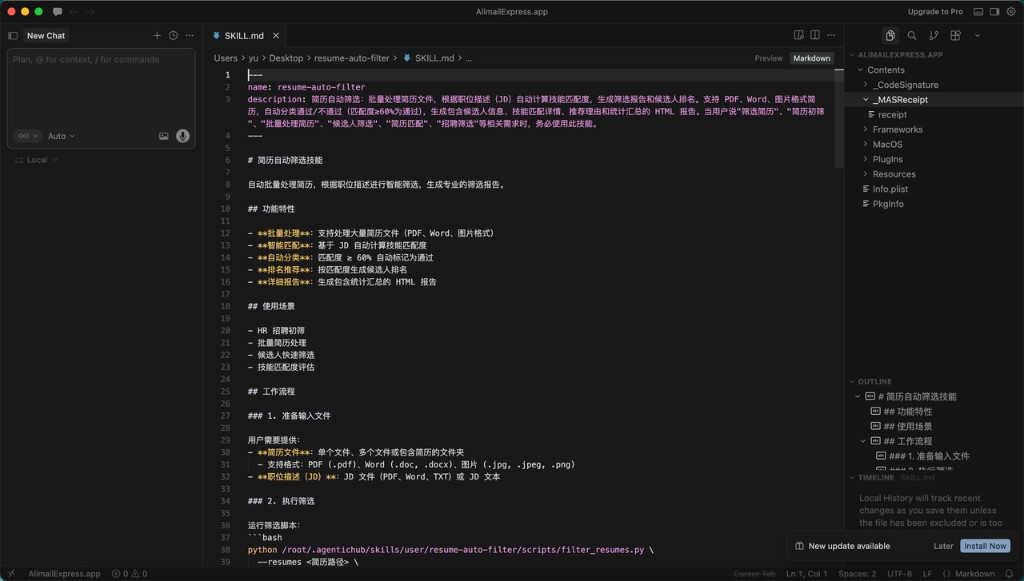
-
After local checks,
git add,commit,pushwith meaningful messages for review.
Online vs. Git
- In-browser edit: small, fast, traceable. Git: multi-person, branches, and local tests. Use one as primary or combine by phase.
Mounting, composition, and operations
- When mounting, satisfy the main path first, then add enhancement skills; on conflicts, disable one by one to locate the cause.
- Document call order and dependencies for multiple skills on one instance.
- Skills = stable steps; Prompts = context and style; Tools = external facts and actions—clear boundaries speed debugging.
- Deprecate or replace unmaintained skills to reduce supply-chain risk.
Publish, share, and security
- Before public release or writing to a shared repo, run security and redaction review; include usage notes and example I/O.
- Visibility, review, and takedown follow current product policy; never put secrets in public descriptions or examples.