Create MCP Repository
Create New MCP Repository
After logging in to the community, click your profile avatar to reveal the "New MCP" button, then click to enter the MCP repository creation page.
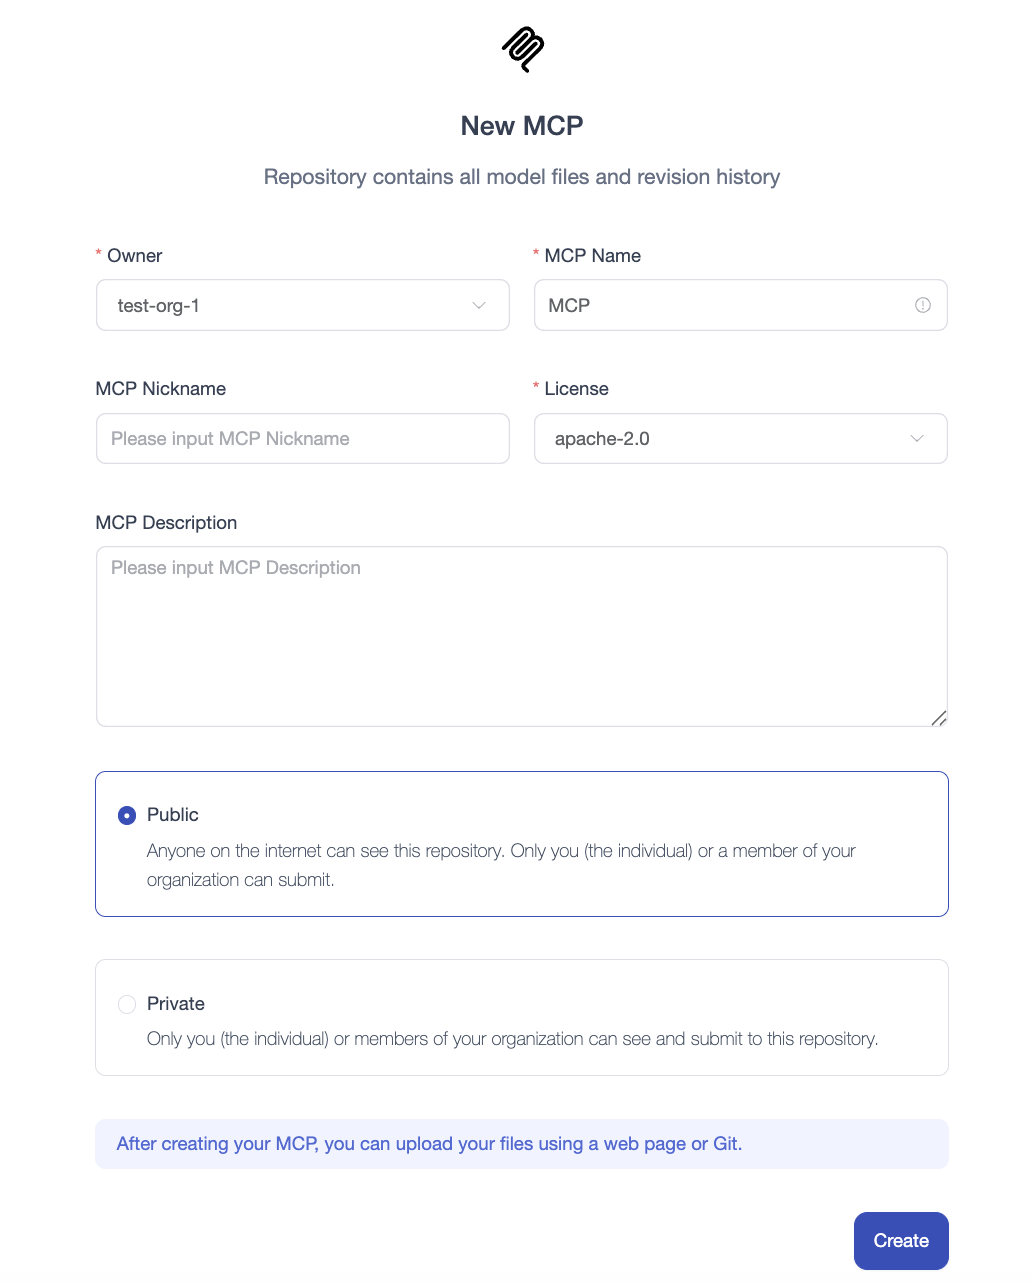
On the MCP repository creation page, fill in the following basic information, then click the "Create MCP" button to proceed:
- Repository owner defaults to your username (Owner), with dropdown option to select organization name
- Enter your MCP repository name, alias, and description
- Select license type
- Choose visibility (public/private)
Initial Page
After creating the MCP repository, you'll see the following interface:
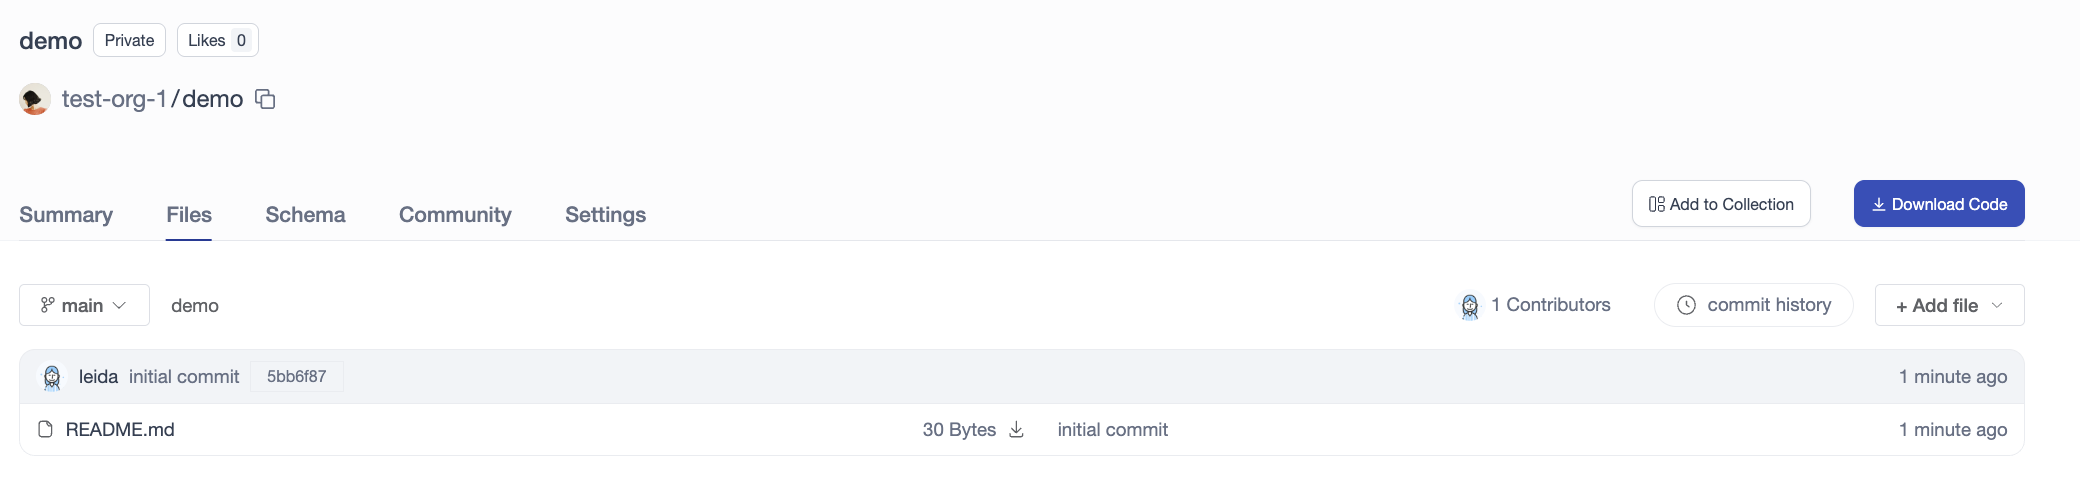
You can find the automatically generated README.md document in the "Files" tab for online editing. After completion, the system will automatically render the README.md file and display it on the "Overview" page.
MCP Repository List
Click your profile avatar to access your personal information page, where you can view all MCP repositories you've created.
Uploading/Downloading MCP Repositories
MCP repositories are managed based on Git. The clone URL format is as follows (Note: The domain in the URL should be your actual deployed CSGHub instance URL; here we take the official OpenCSG Community https://opencsg.com/ as an example):
git clone https://<your_csghub_domain_or_ip>/mcpservers/<your_username>/<your_mcp_name>.git
# Taking OpenCSG Community as an example:
# git clone https://opencsg.com/mcpservers/<your_username>/<your_mcp_name>.git
The file upload and download operations for MCP repositories are the same as regular code repositories. Please refer to:
One-Click Deployment
MCP repositories support one-click deployment to application spaces.
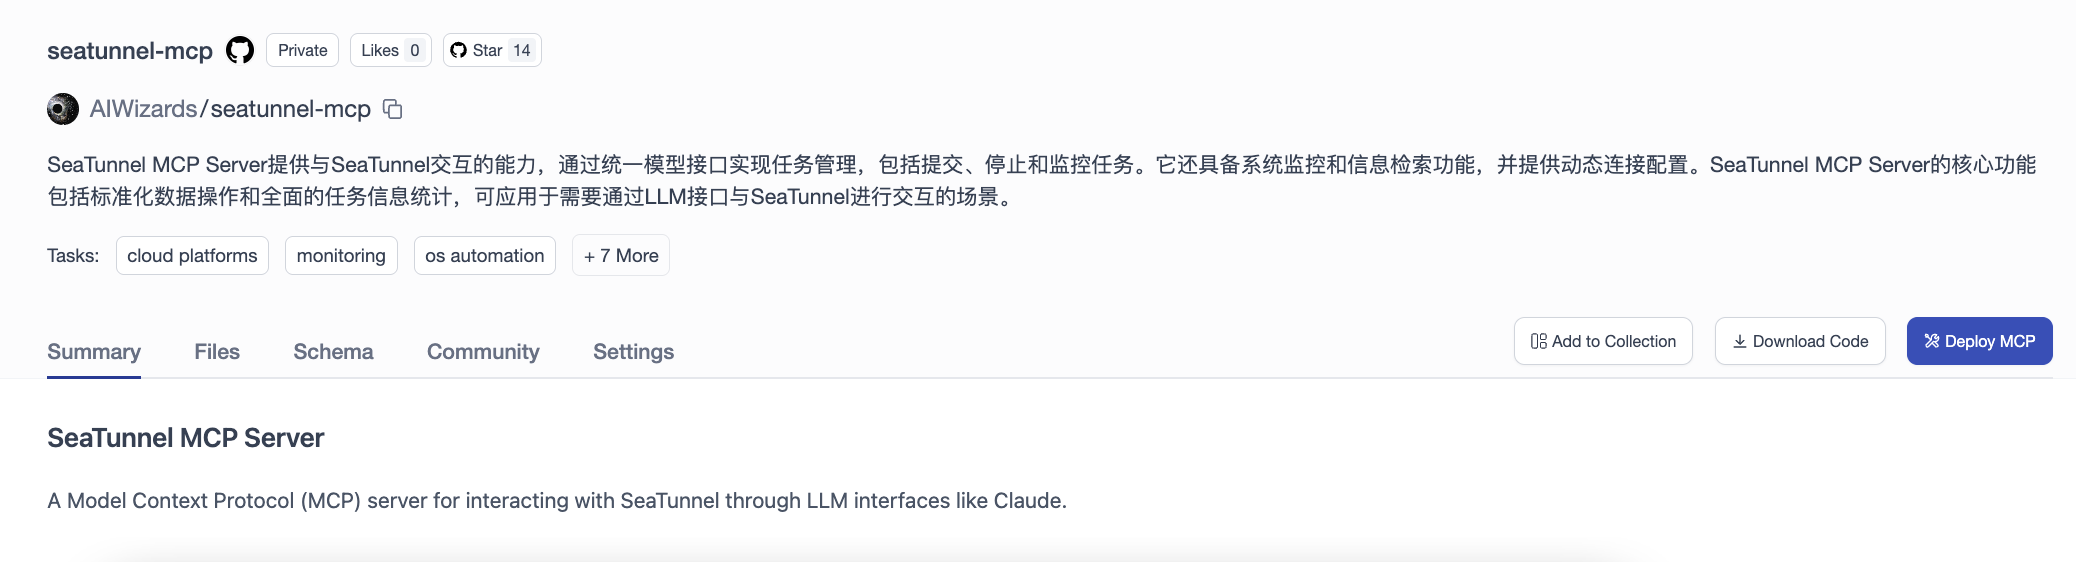 Click the "One-Click Deployment" button, fill in the information for the application space, and confirm to complete the deployment.