Automatic Workflow
Feature Overview
To better allow users to customize and control their browser automation tasks, AutoHub provides the Custom Workflow Configuration feature. This feature meets different user needs and optimizes automation operations through three workflow modes:
1. Command Workflow
By entering concise commands, a series of operations are executed automatically, suitable for completing simple tasks within 10 steps. This mode is particularly optimized for integration with Web platforms (such as OpenCSG, HuggingFace, Modelscope), efficiently handling routine browsing, data retrieval, and other tasks.
2. Configuration Workflow
Suitable for more complex automation needs, users can customize each step of the workflow and configure various operational logic. This mode flexibly addresses multi-step, multi-platform automation tasks, meeting higher customization requirements, and is ideal for advanced users who need detailed control.
3. Recording Workflow
Provides solutions for frequently executed complex tasks. By recording user actions on web pages, AutoHub can quickly replicate and automatically execute these tasks, making it particularly suitable for data collection, repetitive operations, and other high-frequency workflows.
Usage Method
1. Command Workflow
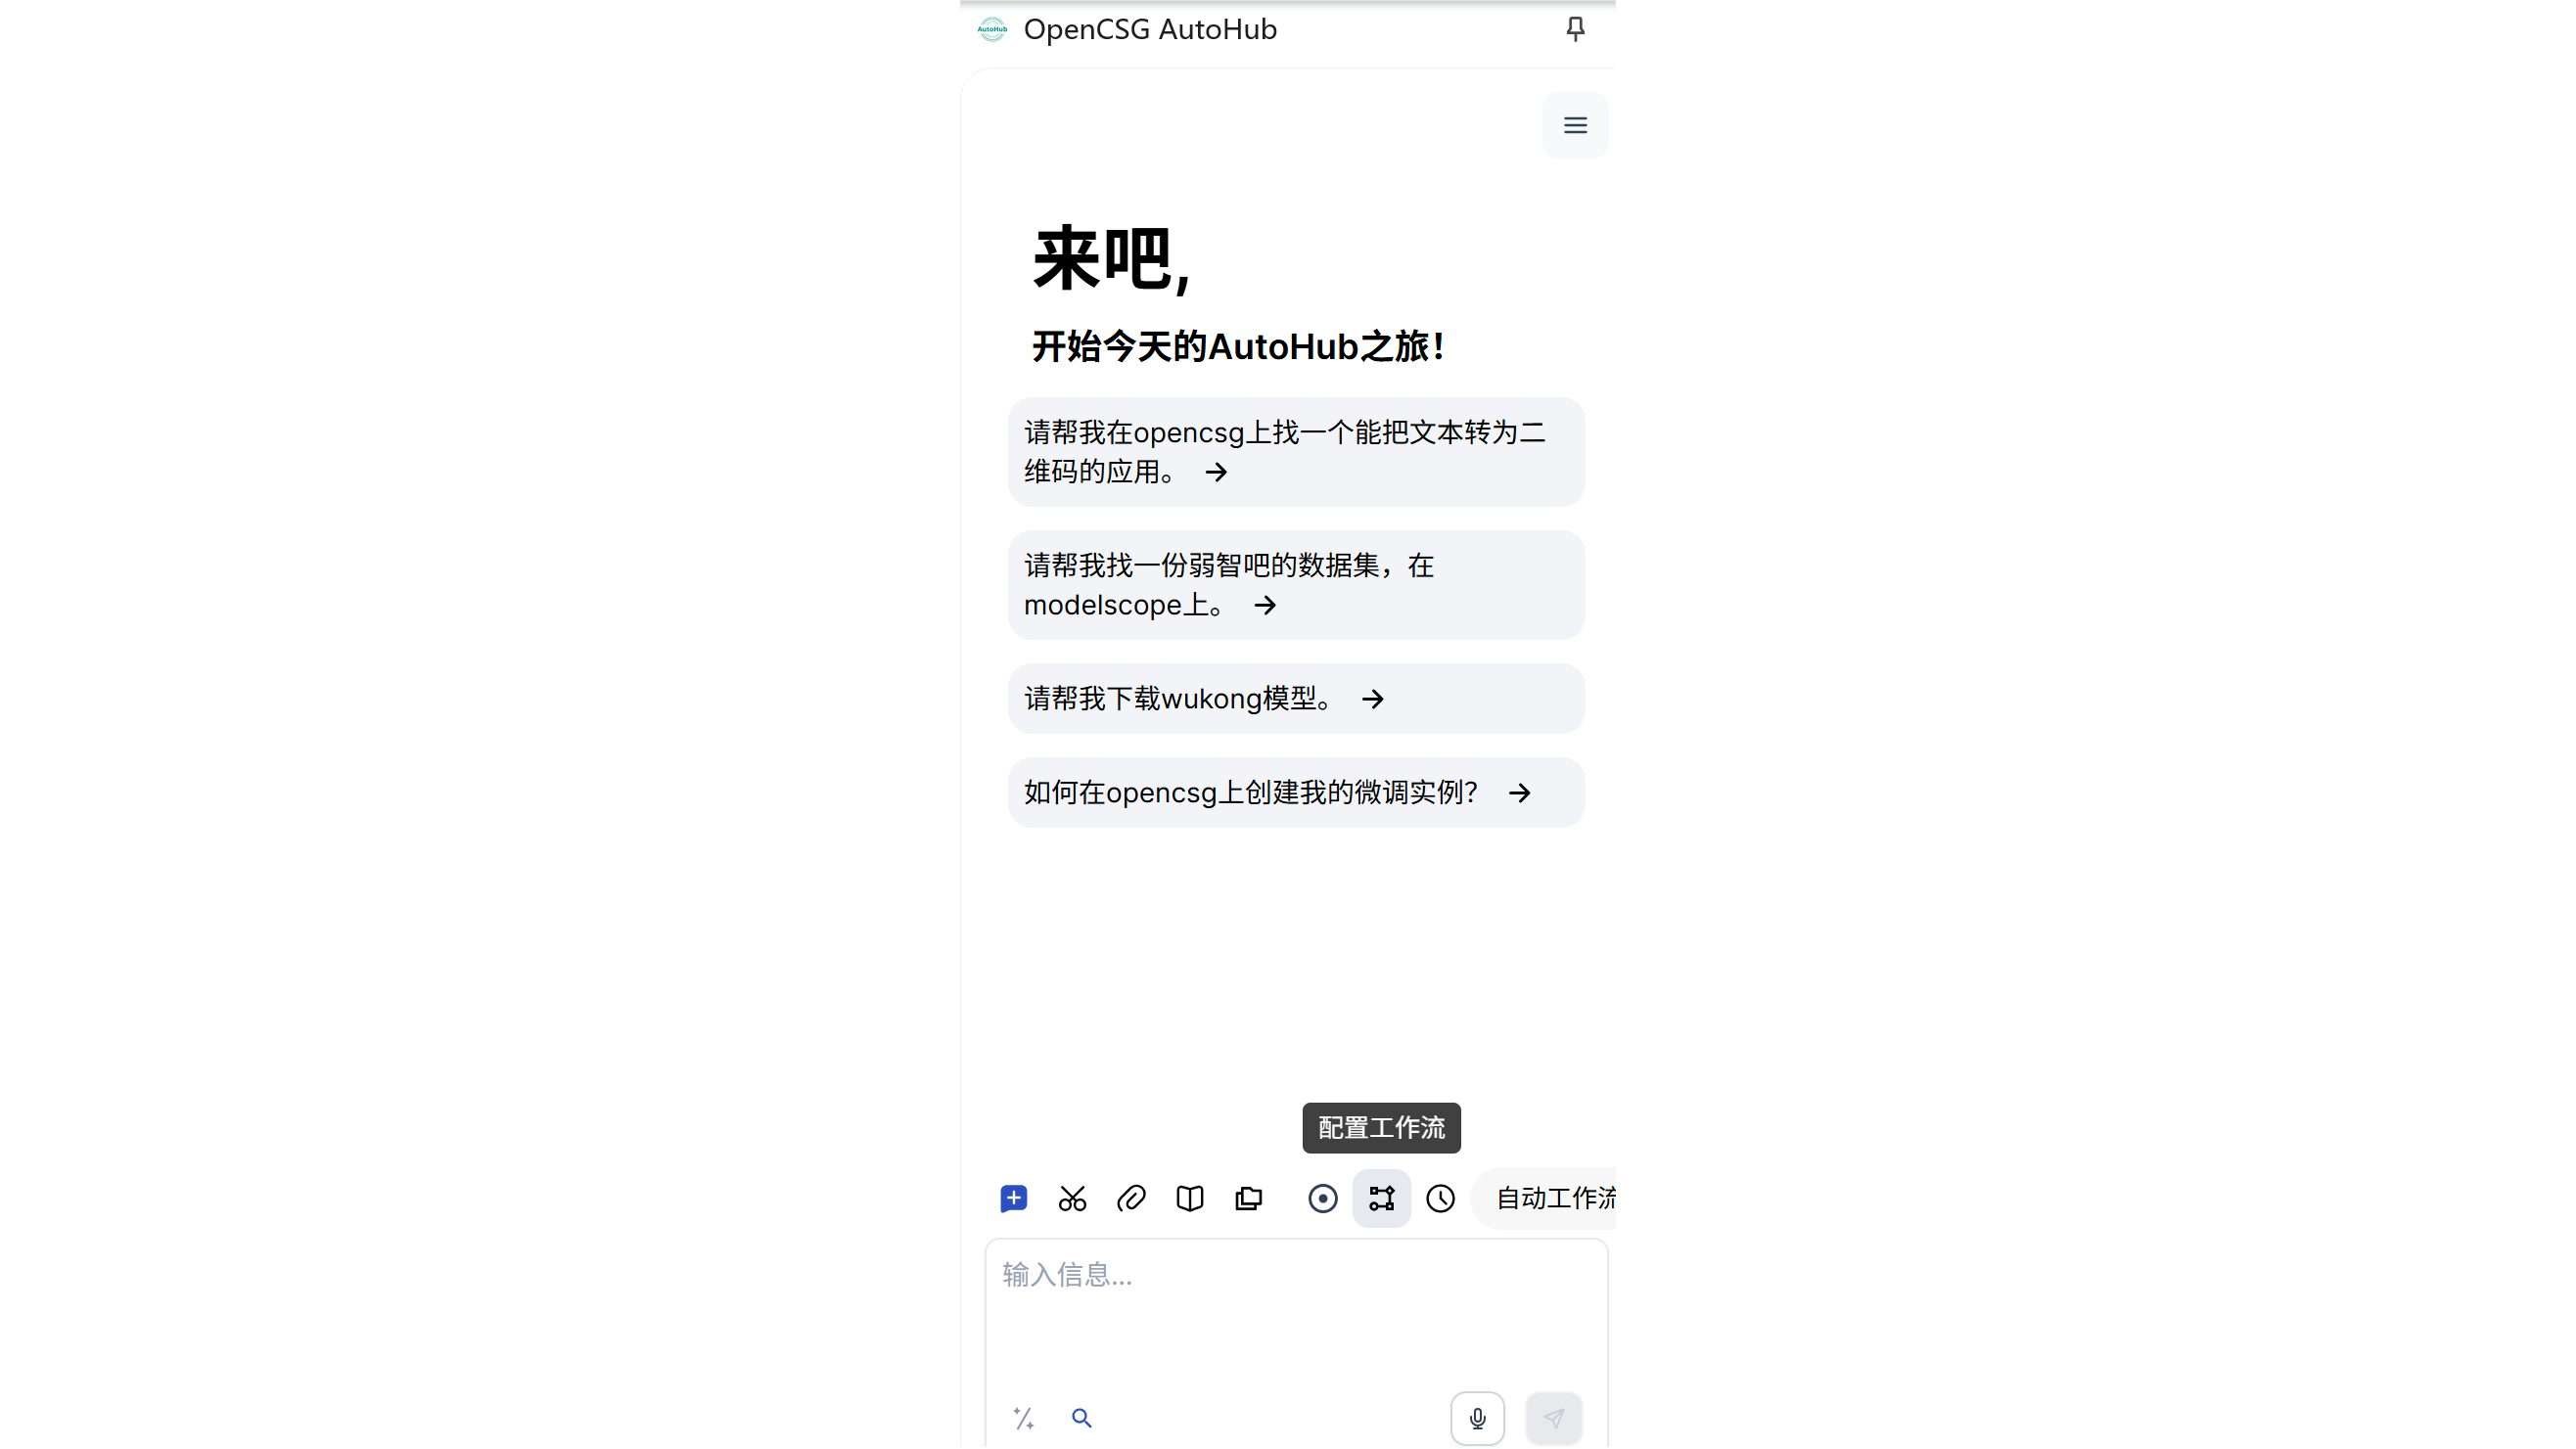
- Step 1: Open the AutoHub plugin in the browser.
- Step 2: Enter a simple command in the input box (e.g., search for "wukong model").
- Step 3: AutoHub will automatically execute the task, accessing the specified platform (such as OpenCSG, HuggingFace, or Modelscope) to retrieve the required data or perform the task.
- Step 4: The system will return results or complete the task.
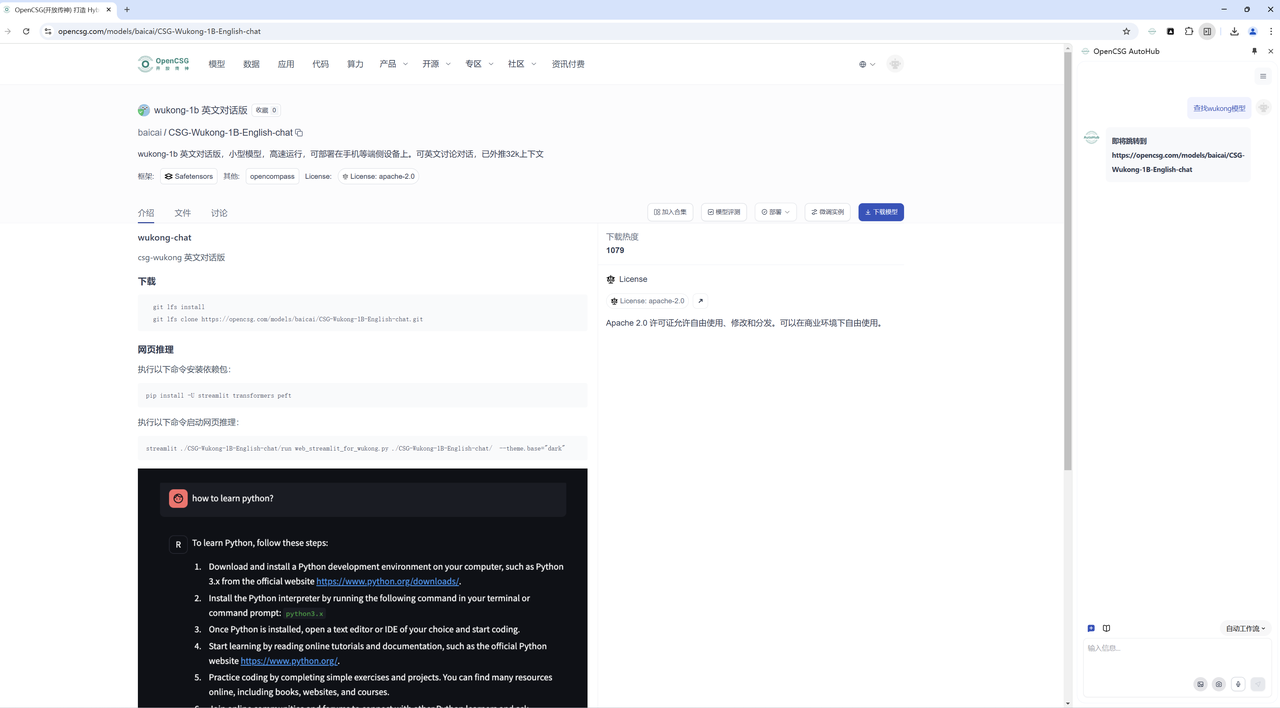
This mode is suitable for simple tasks, such as retrieving data or performing small repetitive operations.
2. Configuration Workflow
- Step 1: Open the AutoHub panel and select the "Configure Workflow" option.
- Step 2: Define each web operation component in the interface. For example, you can configure tasks: open a webpage, click elements, wait for responses, and extract data.
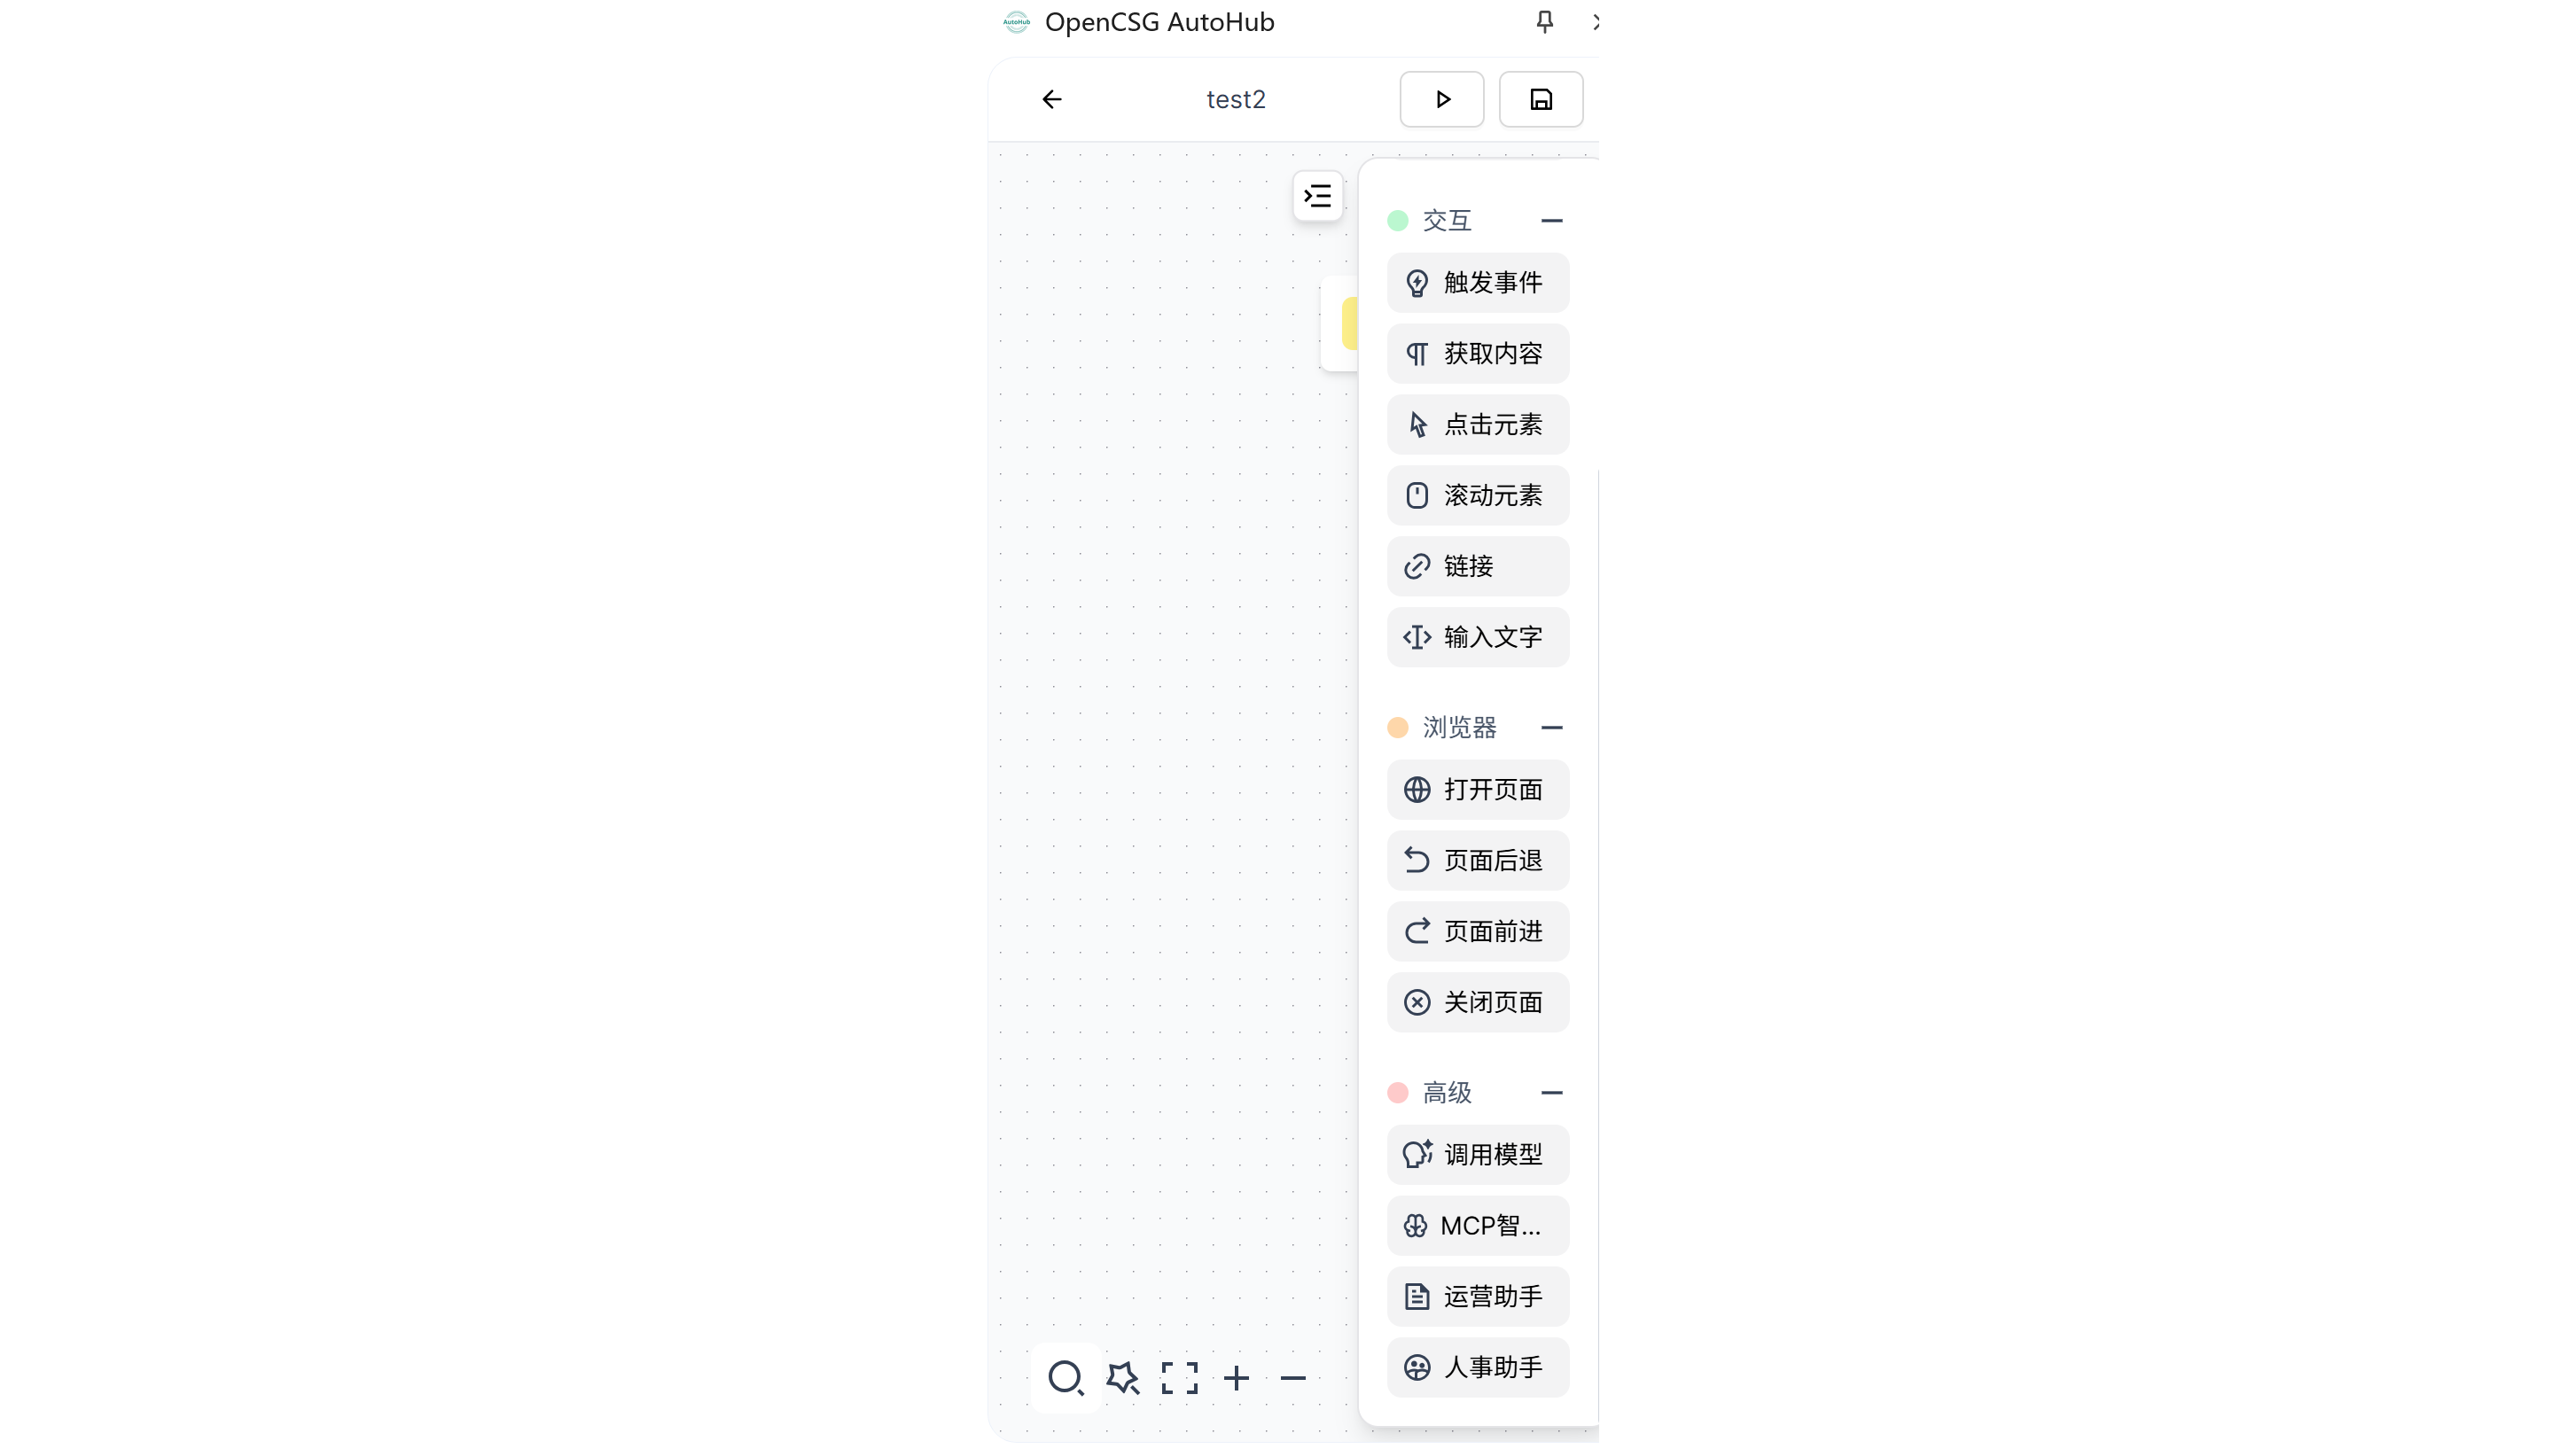
- Step 3: Drag and drop available workflow operations (such as "Click Element," "Delay," "Get Content") into the flowchart.
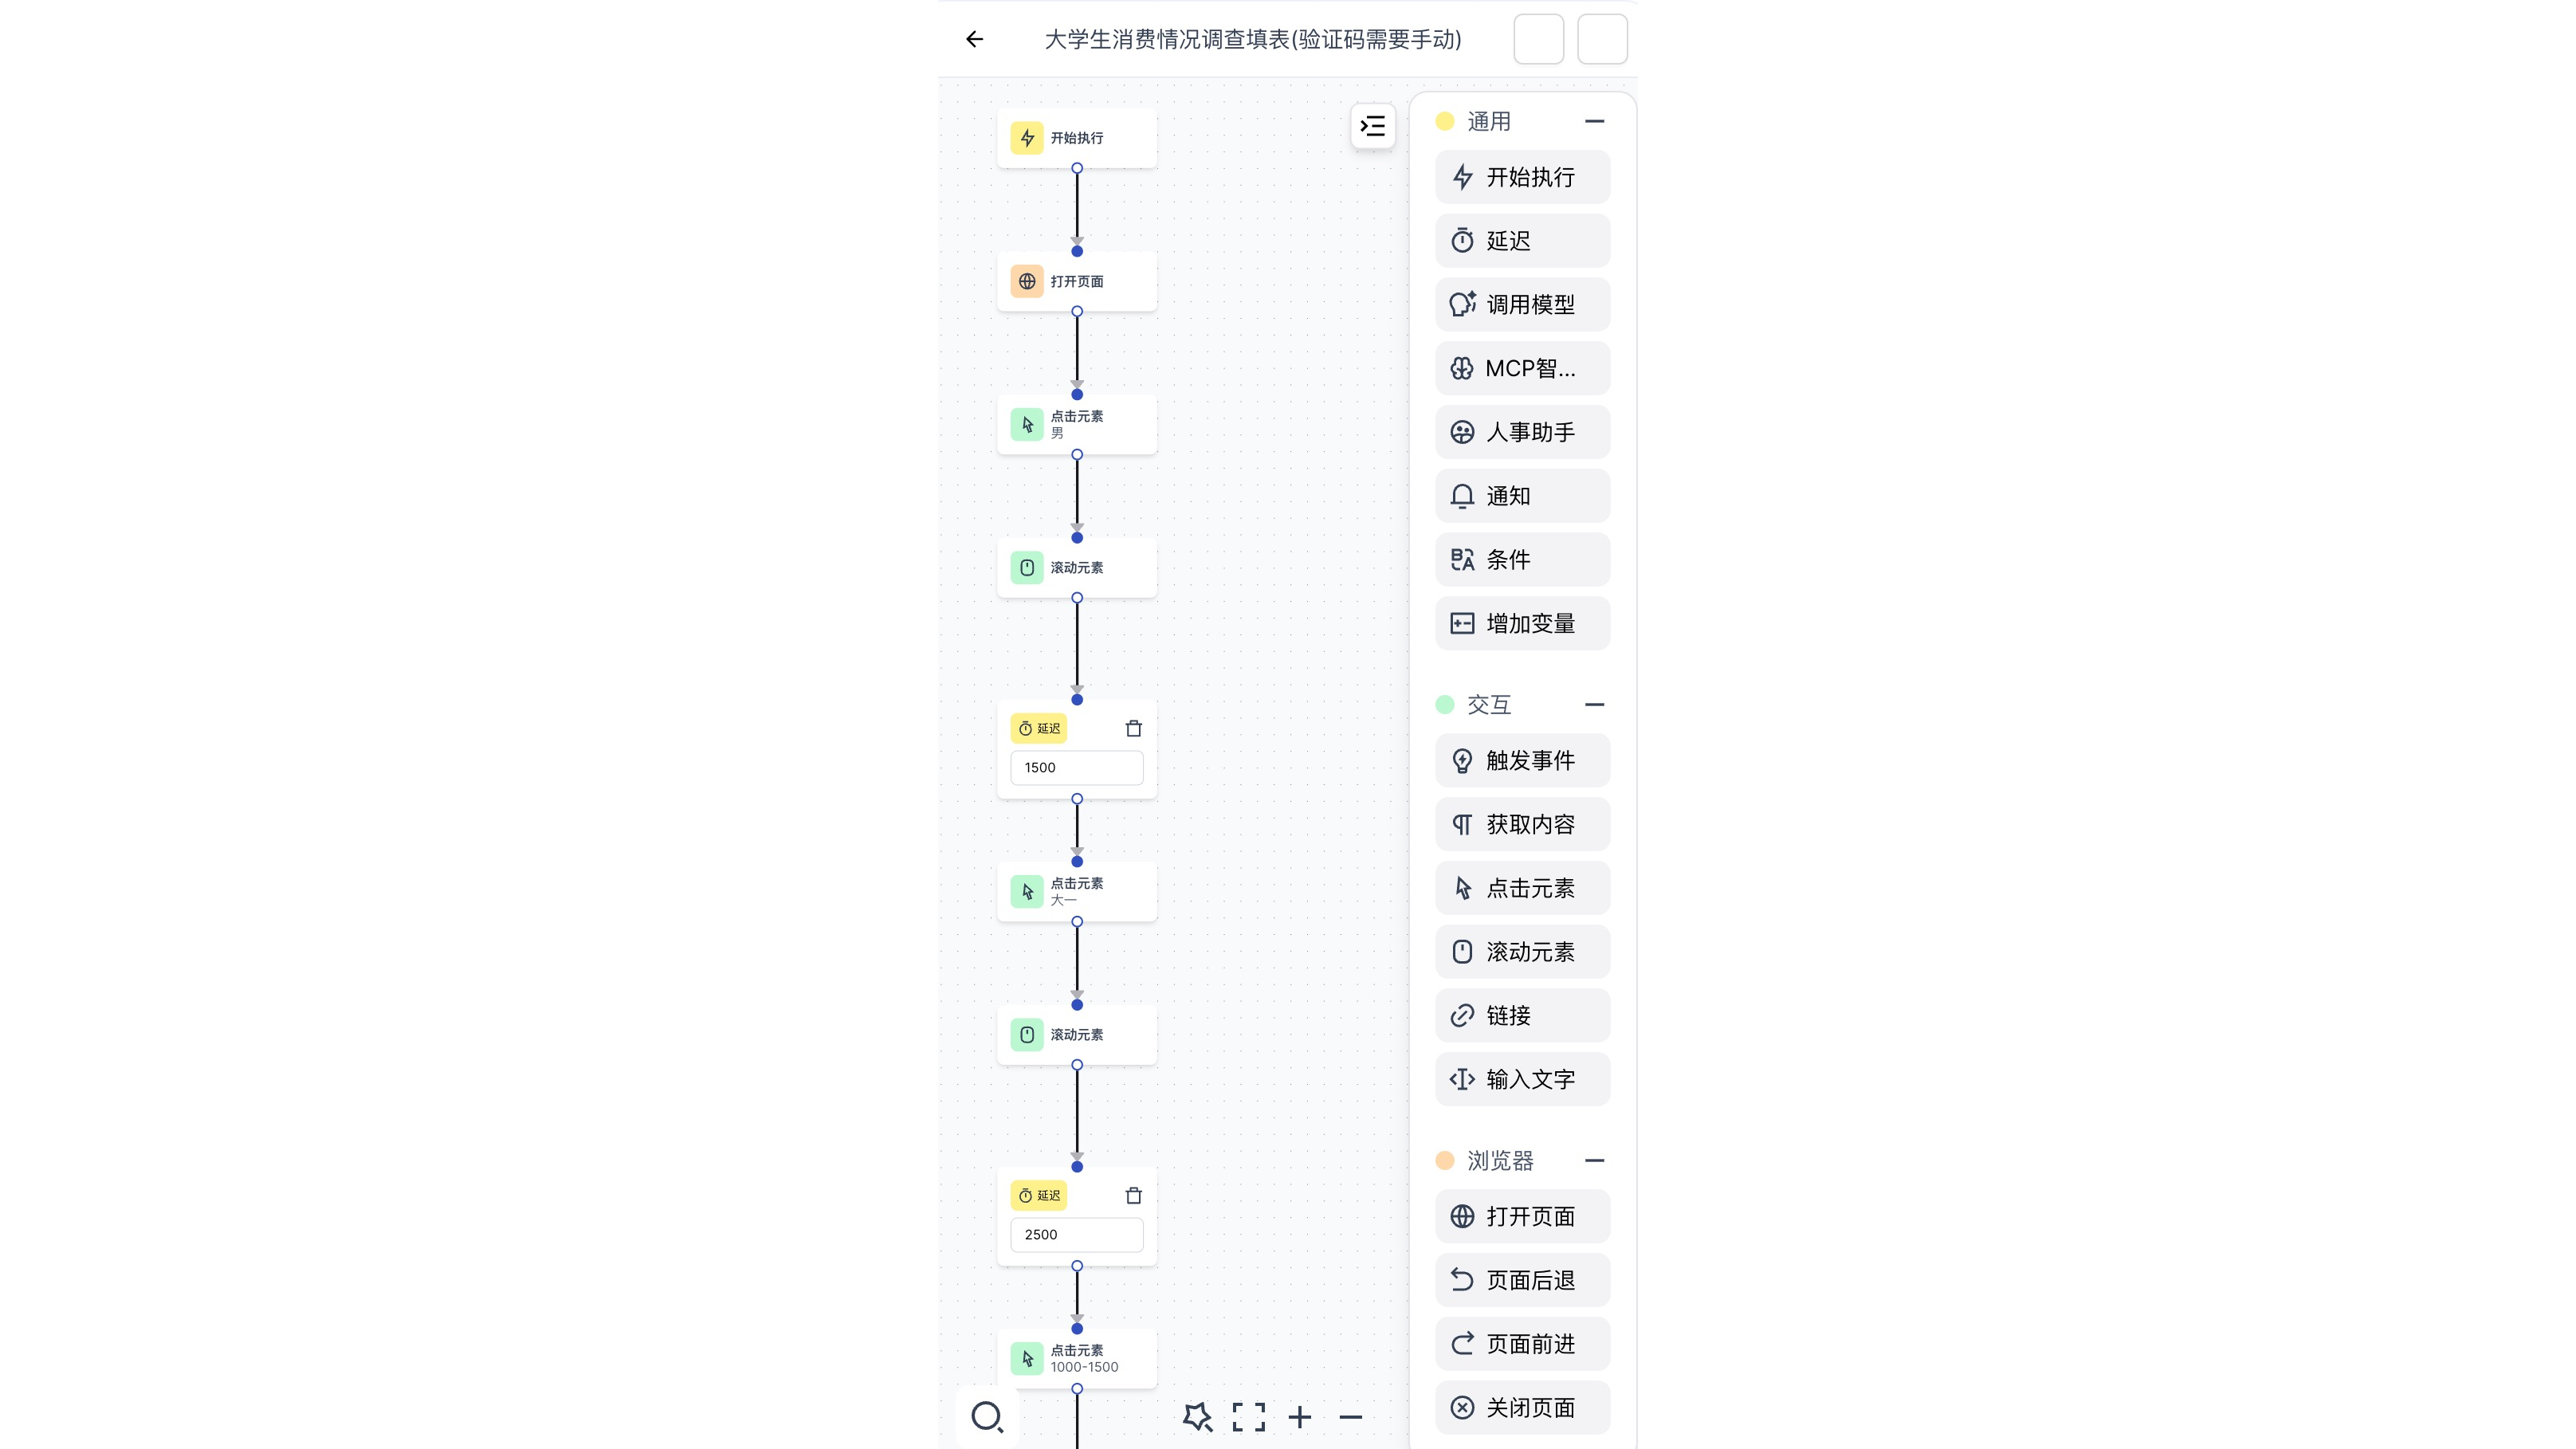
- Step 4: Customize the parameters for each step, setting delay times, conditions, and cross-platform operations.
- Step 5: After configuration, save and run the workflow to execute complex tasks or multi-step operations. This mode is suitable for more complex tasks, allowing you to customize the order of operations and conditions to suit the automation needs of different platforms.
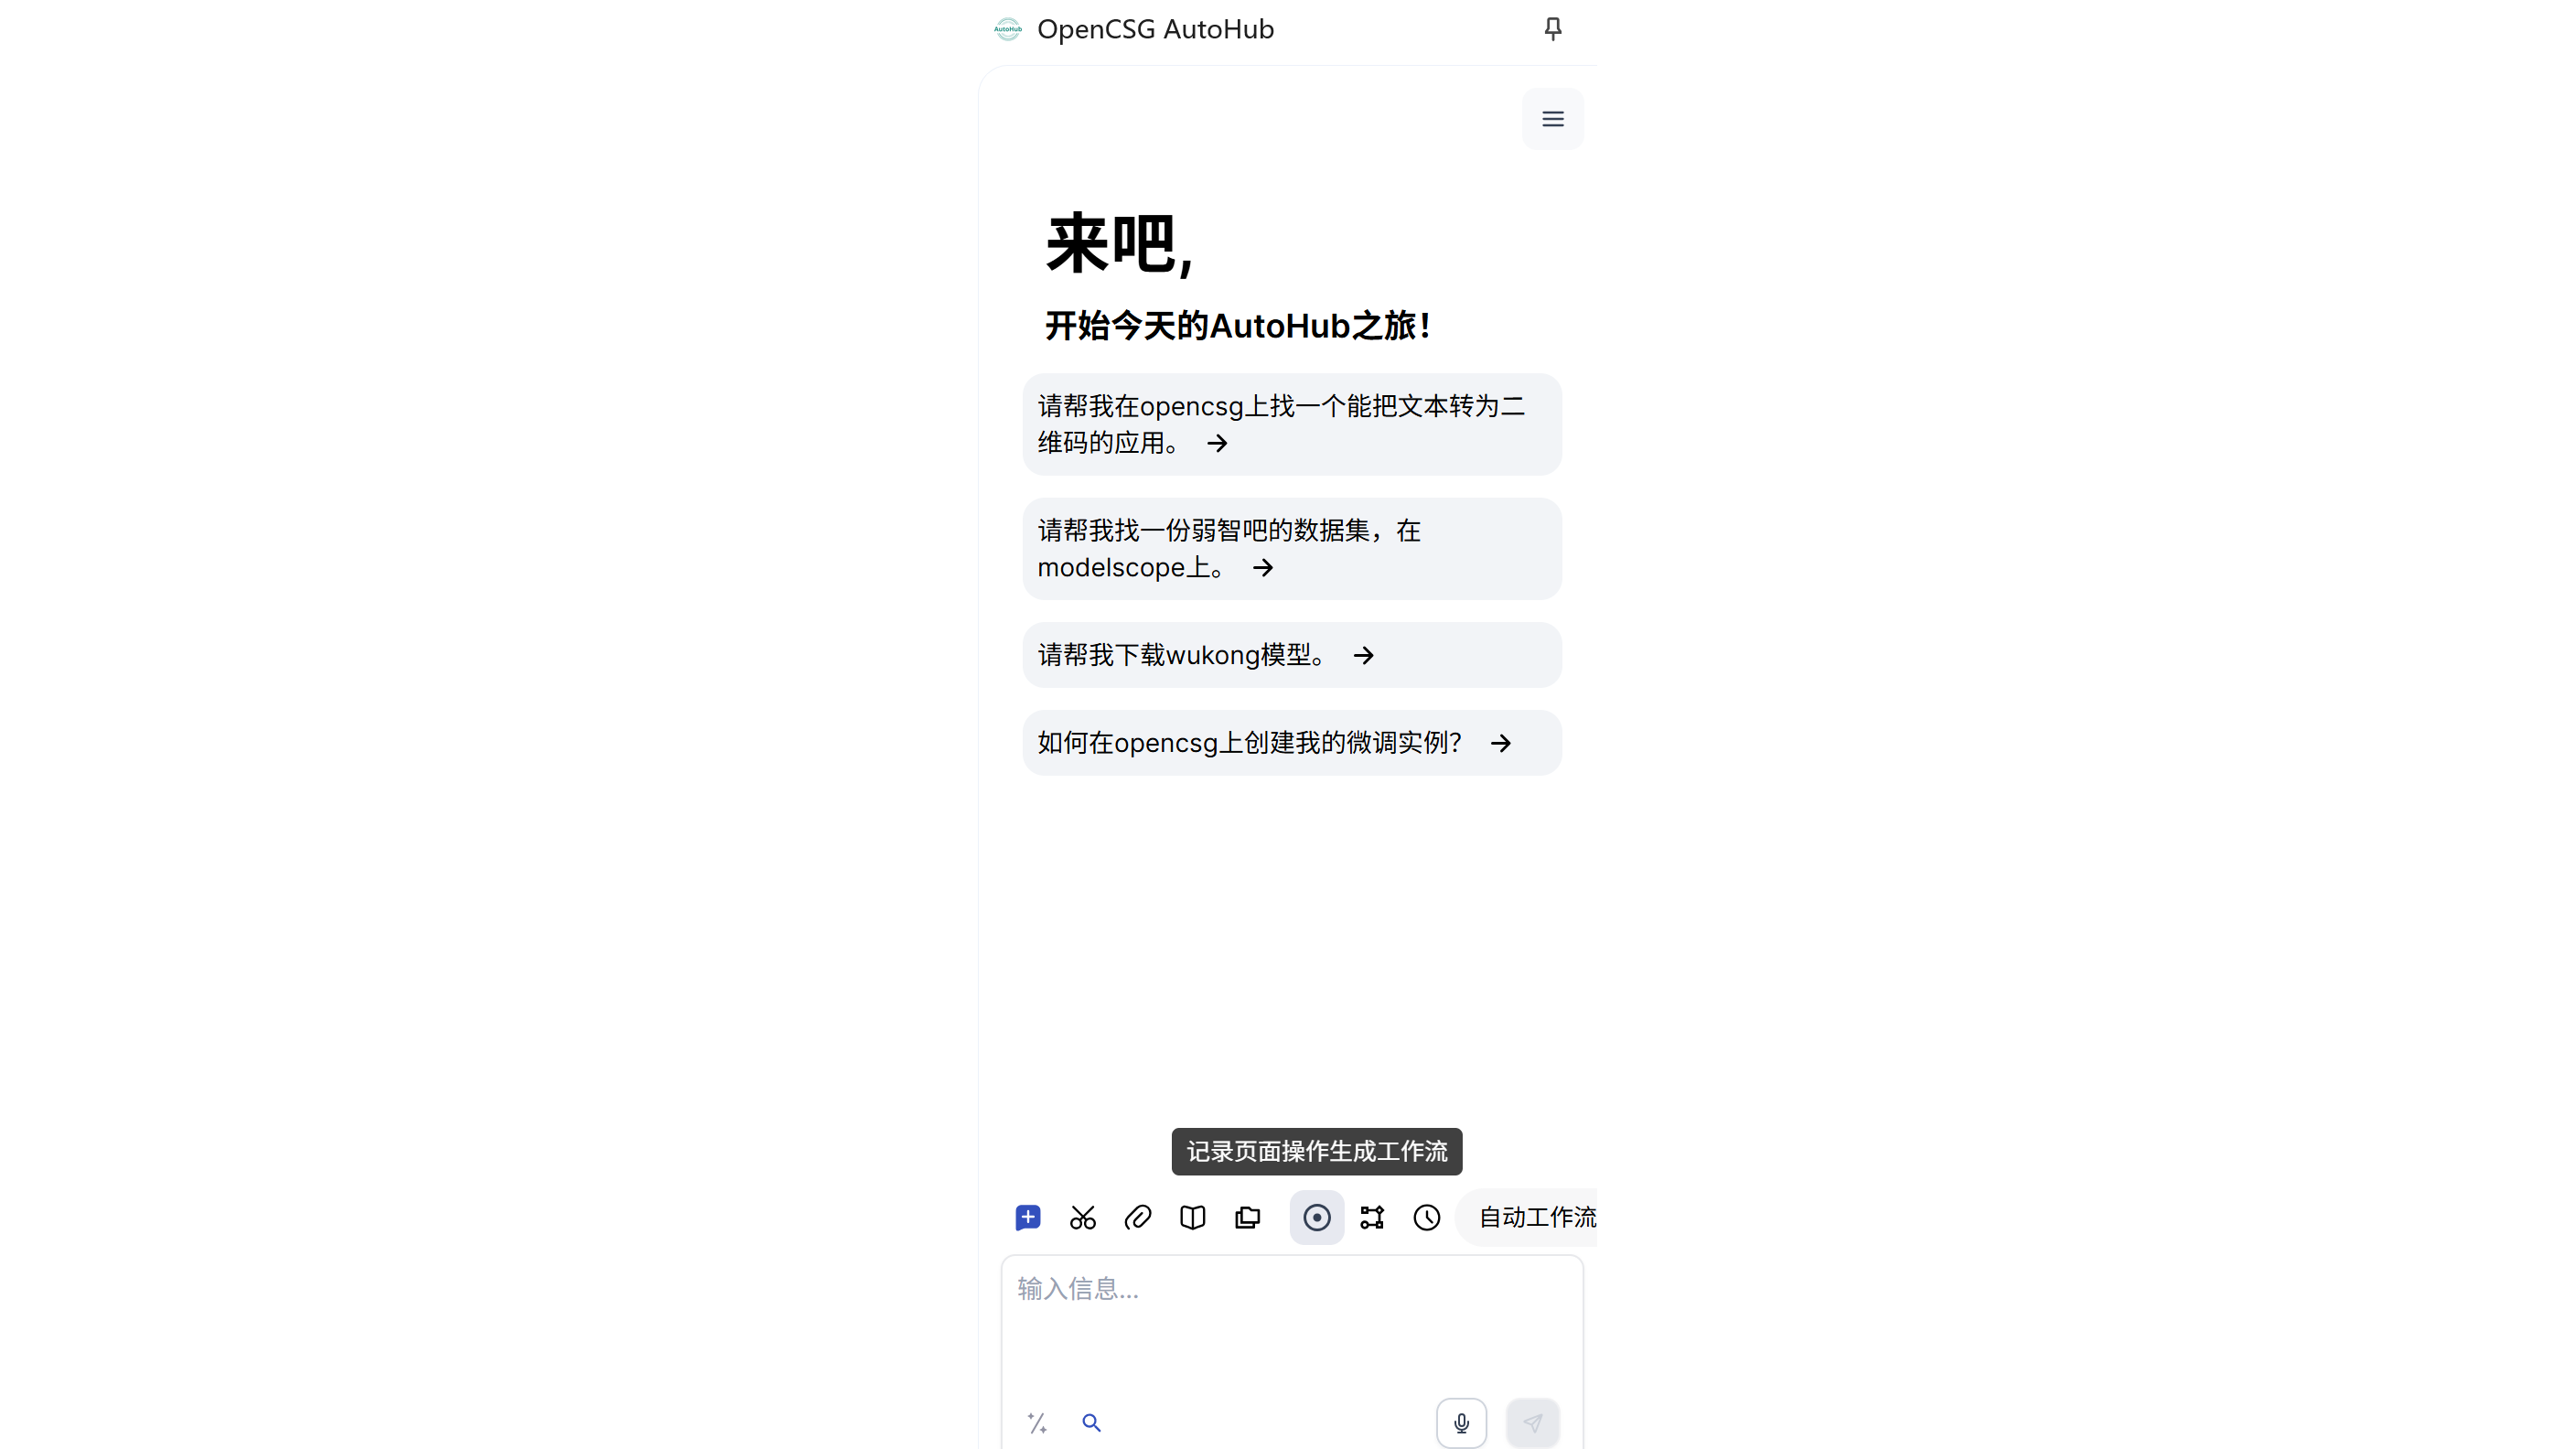
3. Recording Workflow
-
Step 1: Open AutoHub and select the "Record Page Actions to Generate Workflow" mode.
-
Step 2: Start recording by performing the required actions in the browser (e.g., navigating to a website, clicking elements, entering text).
-
Step 3: AutoHub will automatically record your steps.
-
Step 4: After completing the actions, stop recording. You will have a recorded workflow that can be replayed at any time to automate tasks.
-
Step 5: Save the recorded workflow or adjust it as needed before execution. This mode is suitable for frequently executed complex tasks. By recording actions in one go, AutoHub can repeatedly automate these tasks, making it ideal for data collection, repetitive operations, and other high-frequency work.