Uploading Spaces
To upload spaces, you will need to create an account at CSGHub. Spaces are Git-based repositories, which give you versioning, branches, discoverability and sharing features. You can upload anything you want to the space repository.
Currently, we support two ways to upload files: via Web interface and Git.
💡 Which method should I choose?
- Web interface: Suitable for small files; check the current upload page and deployment configuration for the per-file limit.
- Git/CLI: Use Git LFS for large Git files, or the repository-type-specific CLI instructions where provided. Limits depend on the site and storage configuration.
Upload Files to a Repository Using Git
Prerequisites
git config --global user.name "Your name"
git config --global user.email "you@example.com"
- Obtain an Access Token from Account settings → Access Token on the target deployment. Use it as the password when HTTPS Git requests credentials. Organization repositories also require write permission.
Upload Steps
Copy the HTTPS clone URL from the current repository. Replace the sample namespace and repository; use your deployment's actual address.
git lfs install
git clone https://your-csghub.example.com/spaces/your-namespace/example-space.git
cd example-space
Copy the intended files into the local repository. Check that no credentials or unintended files are included, then commit and push:
git add .
git commit -m "Upload repository files"
git push
Verify the files and commit in the target repository's Files tab.
[Note]
Use Git LFS for large files. Before git add, check the repository's .gitattributes. Add a tracking rule if required:
git lfs track "path/to/large-file"
git add .gitattributes
File size and timeout limits depend on site, proxy and storage configuration. Preserve the file size and error, and use a supported workflow described on this page. Site limits are not a universal Git LFS protocol limit.
Managing and Uploading Files via Web Interface
In the repository's Files tab, select Add file, then choose New folder, Create new file, or Upload file.
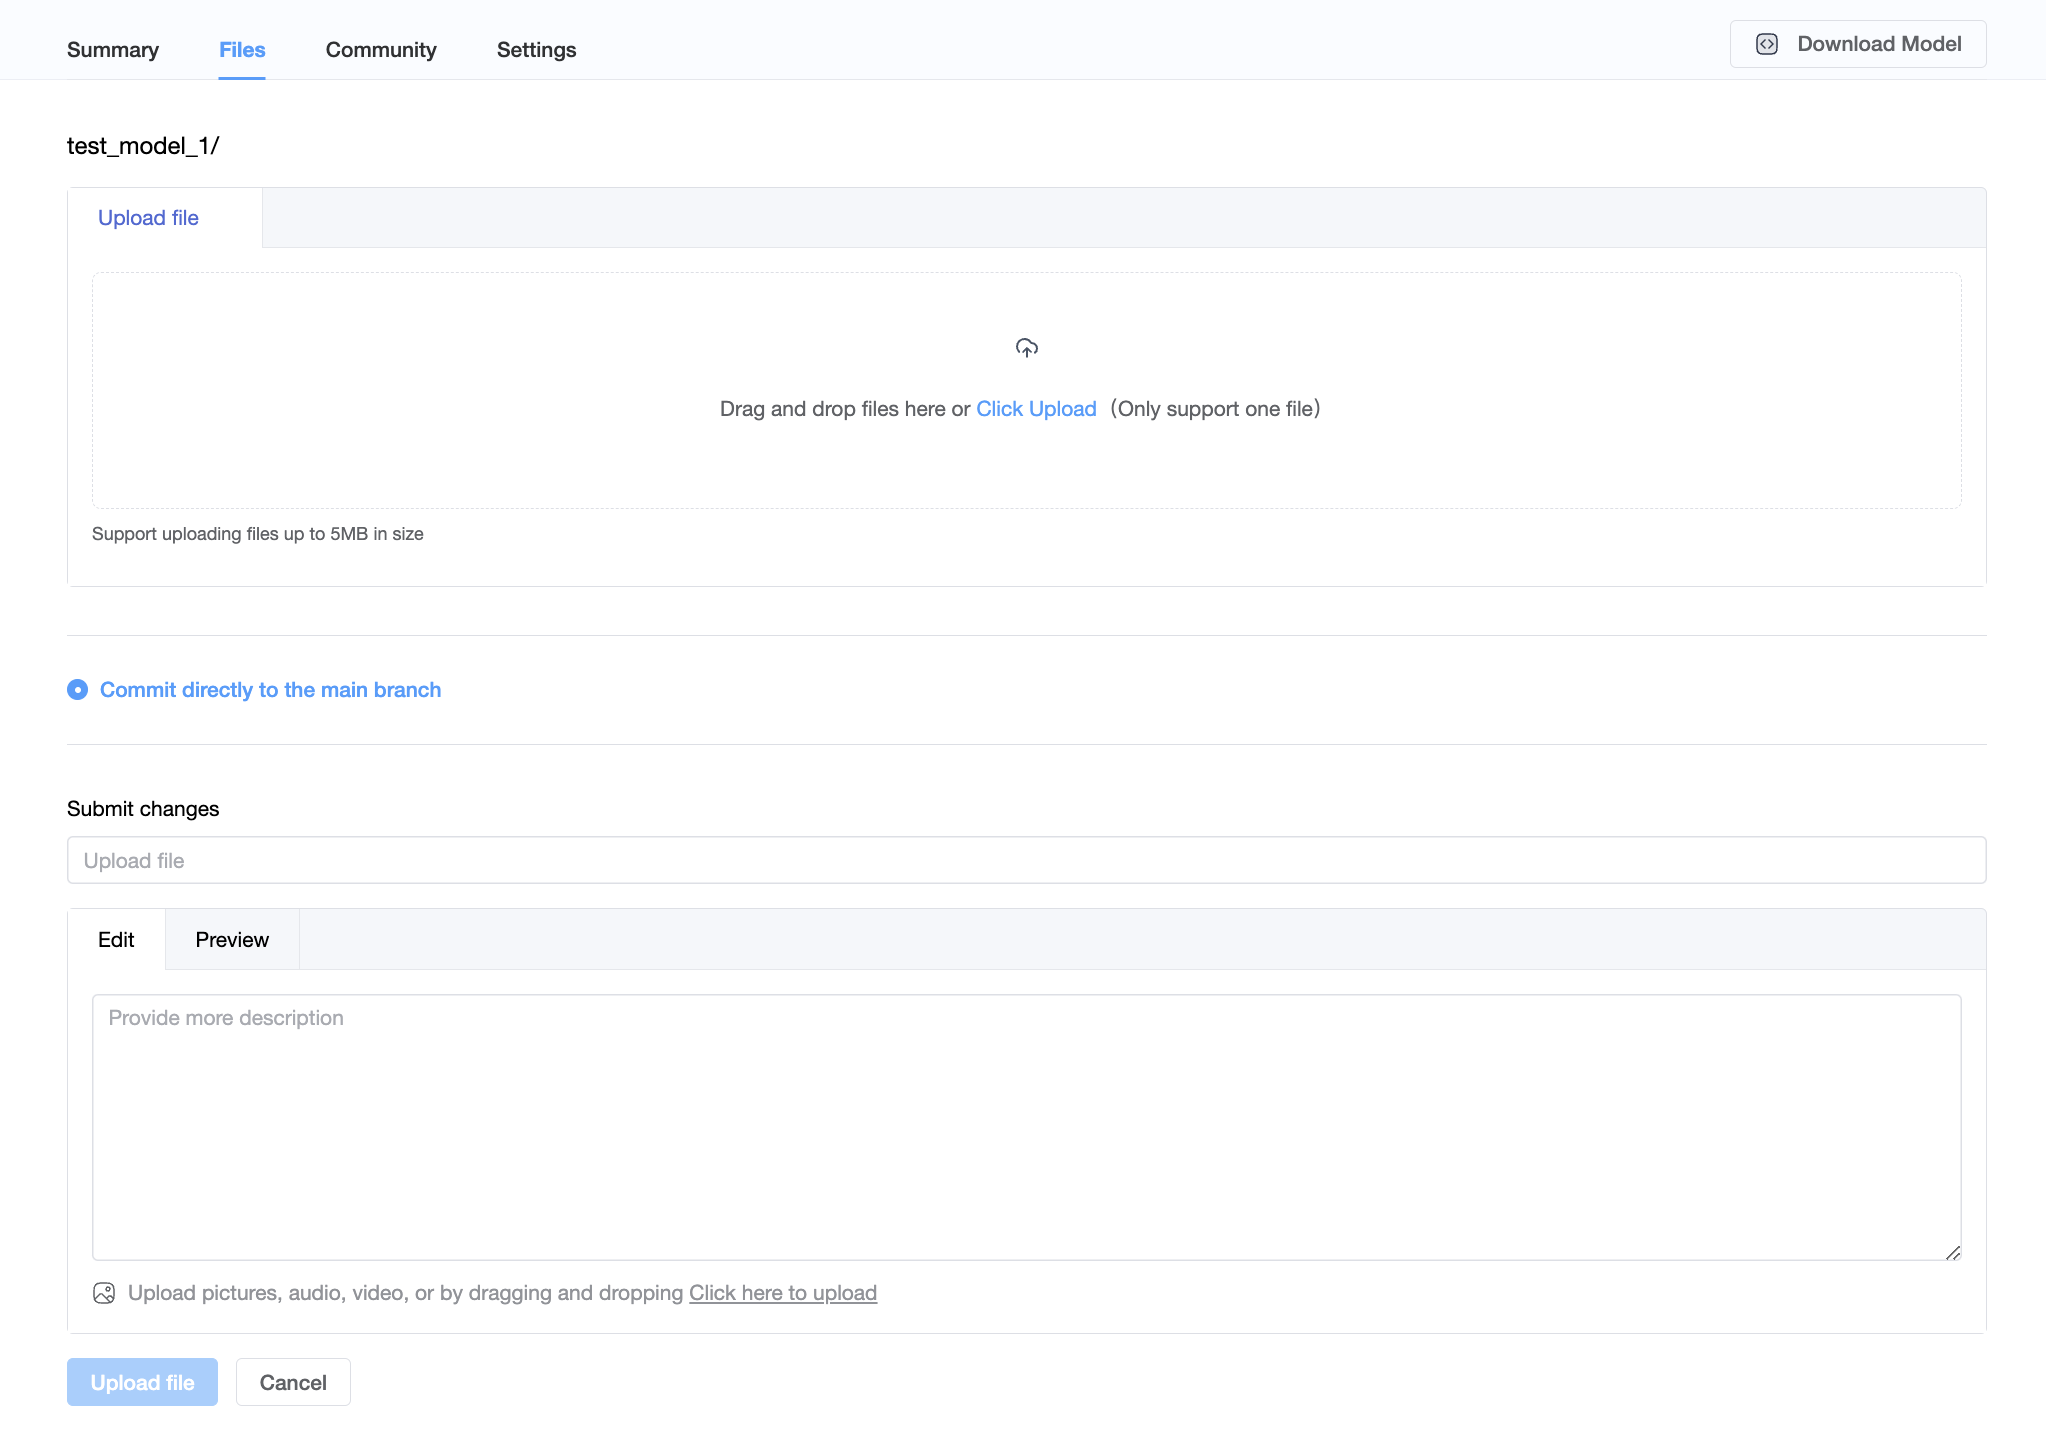
The per-file limit is defined by the current upload page. For larger files, use a transfer method documented as supported on this page.

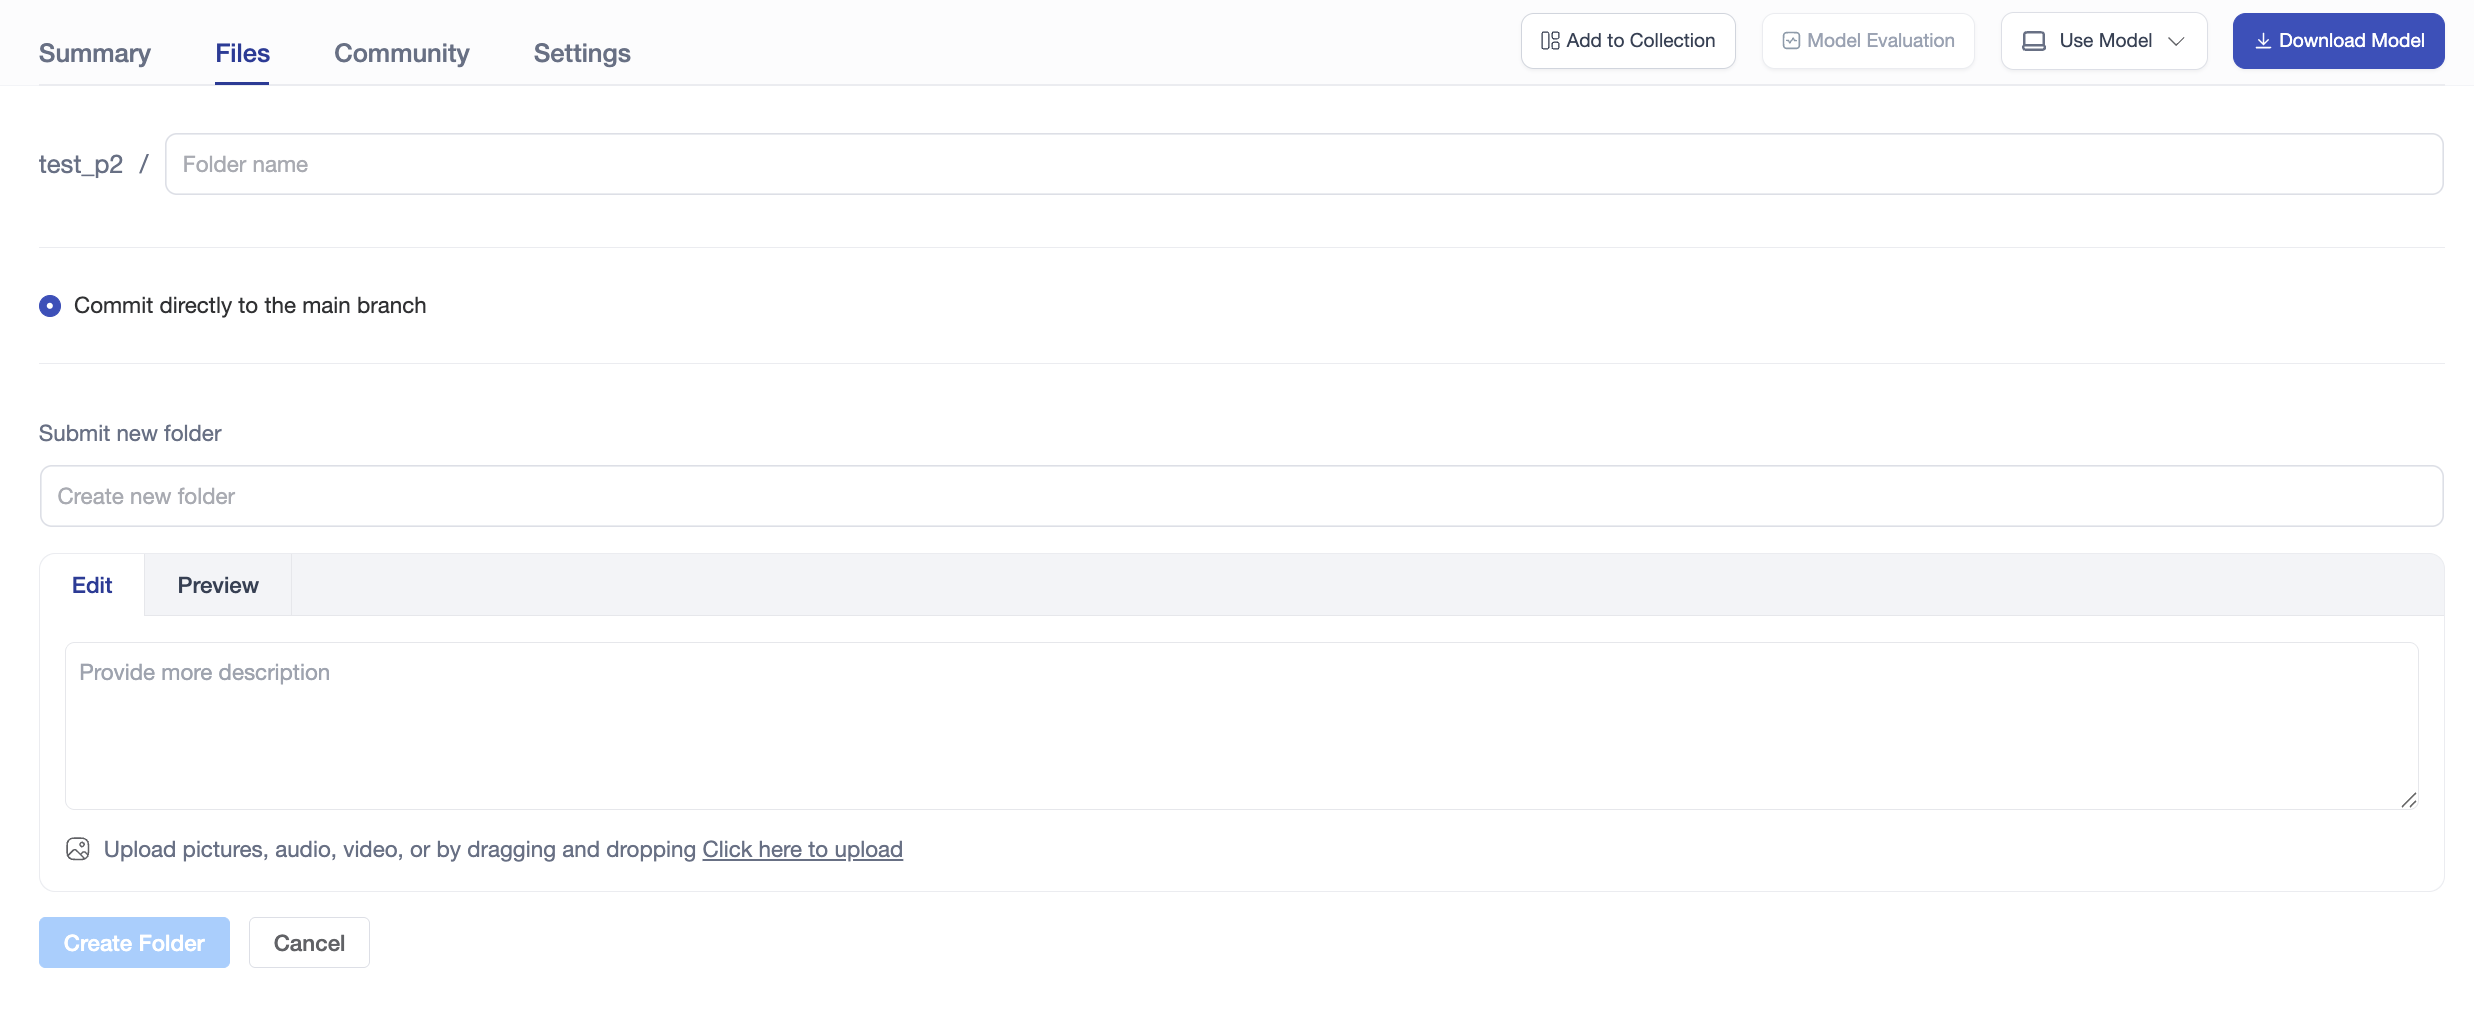
Creating a New Directory
Select New folder, enter a name and submit to create a subfolder under the current repository path.
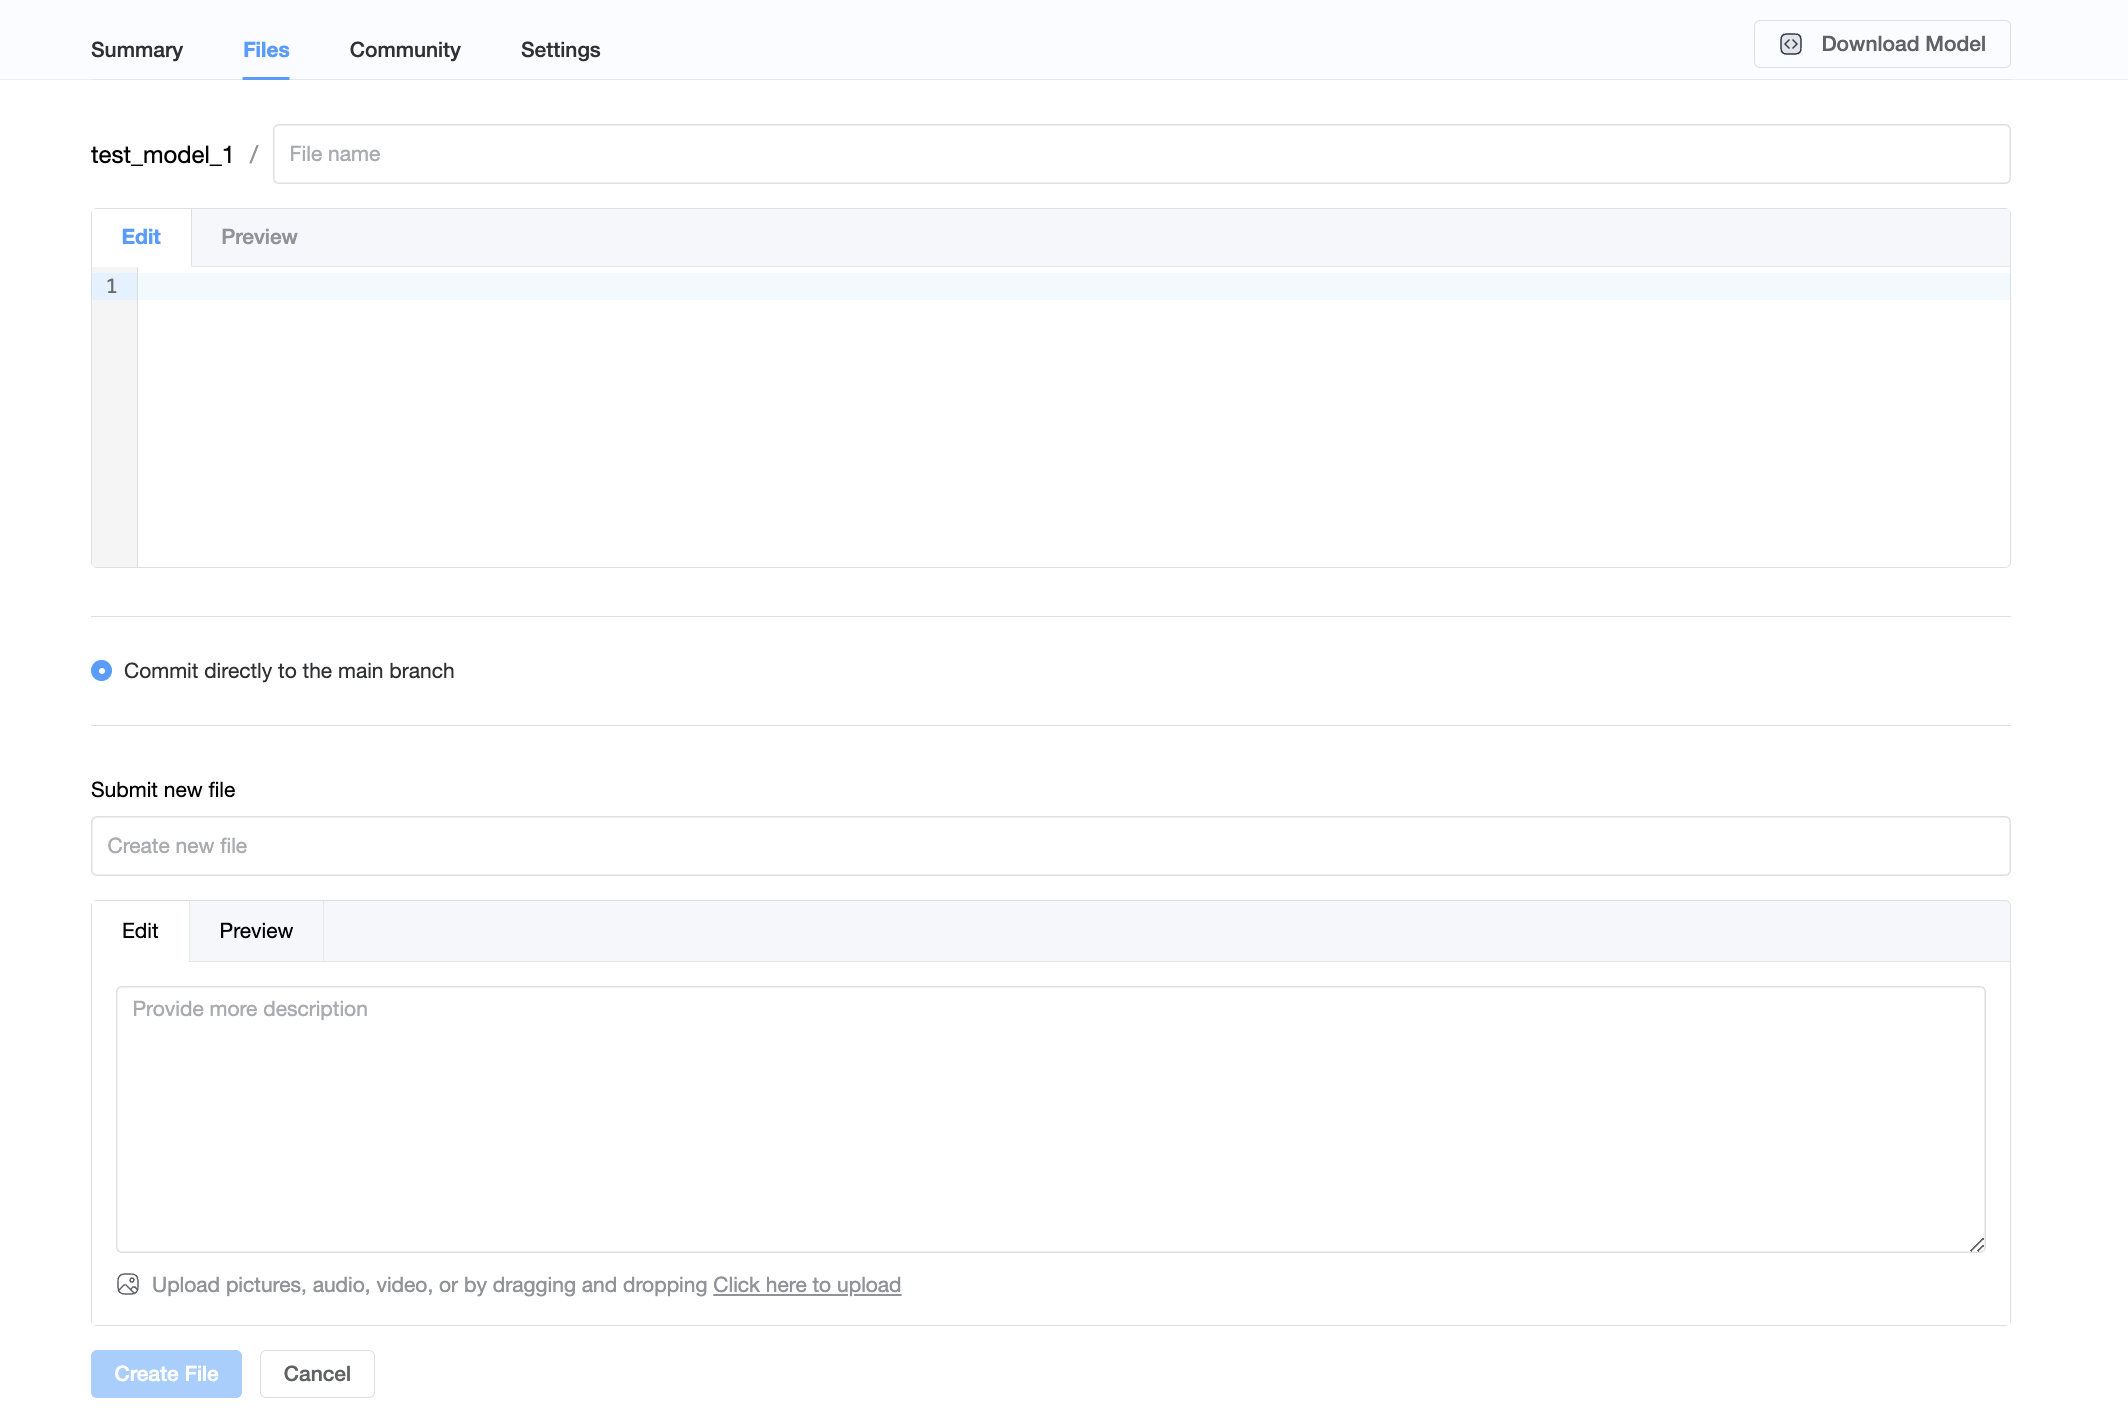
Creating a New File
Select Create new file, enter the file name and content, then select Create File to save and commit it.
Uploading a File
Select Upload file, choose the local file and submit. Confirm that it appears in the repository file list after the upload completes.
查看应用空间的历史记录
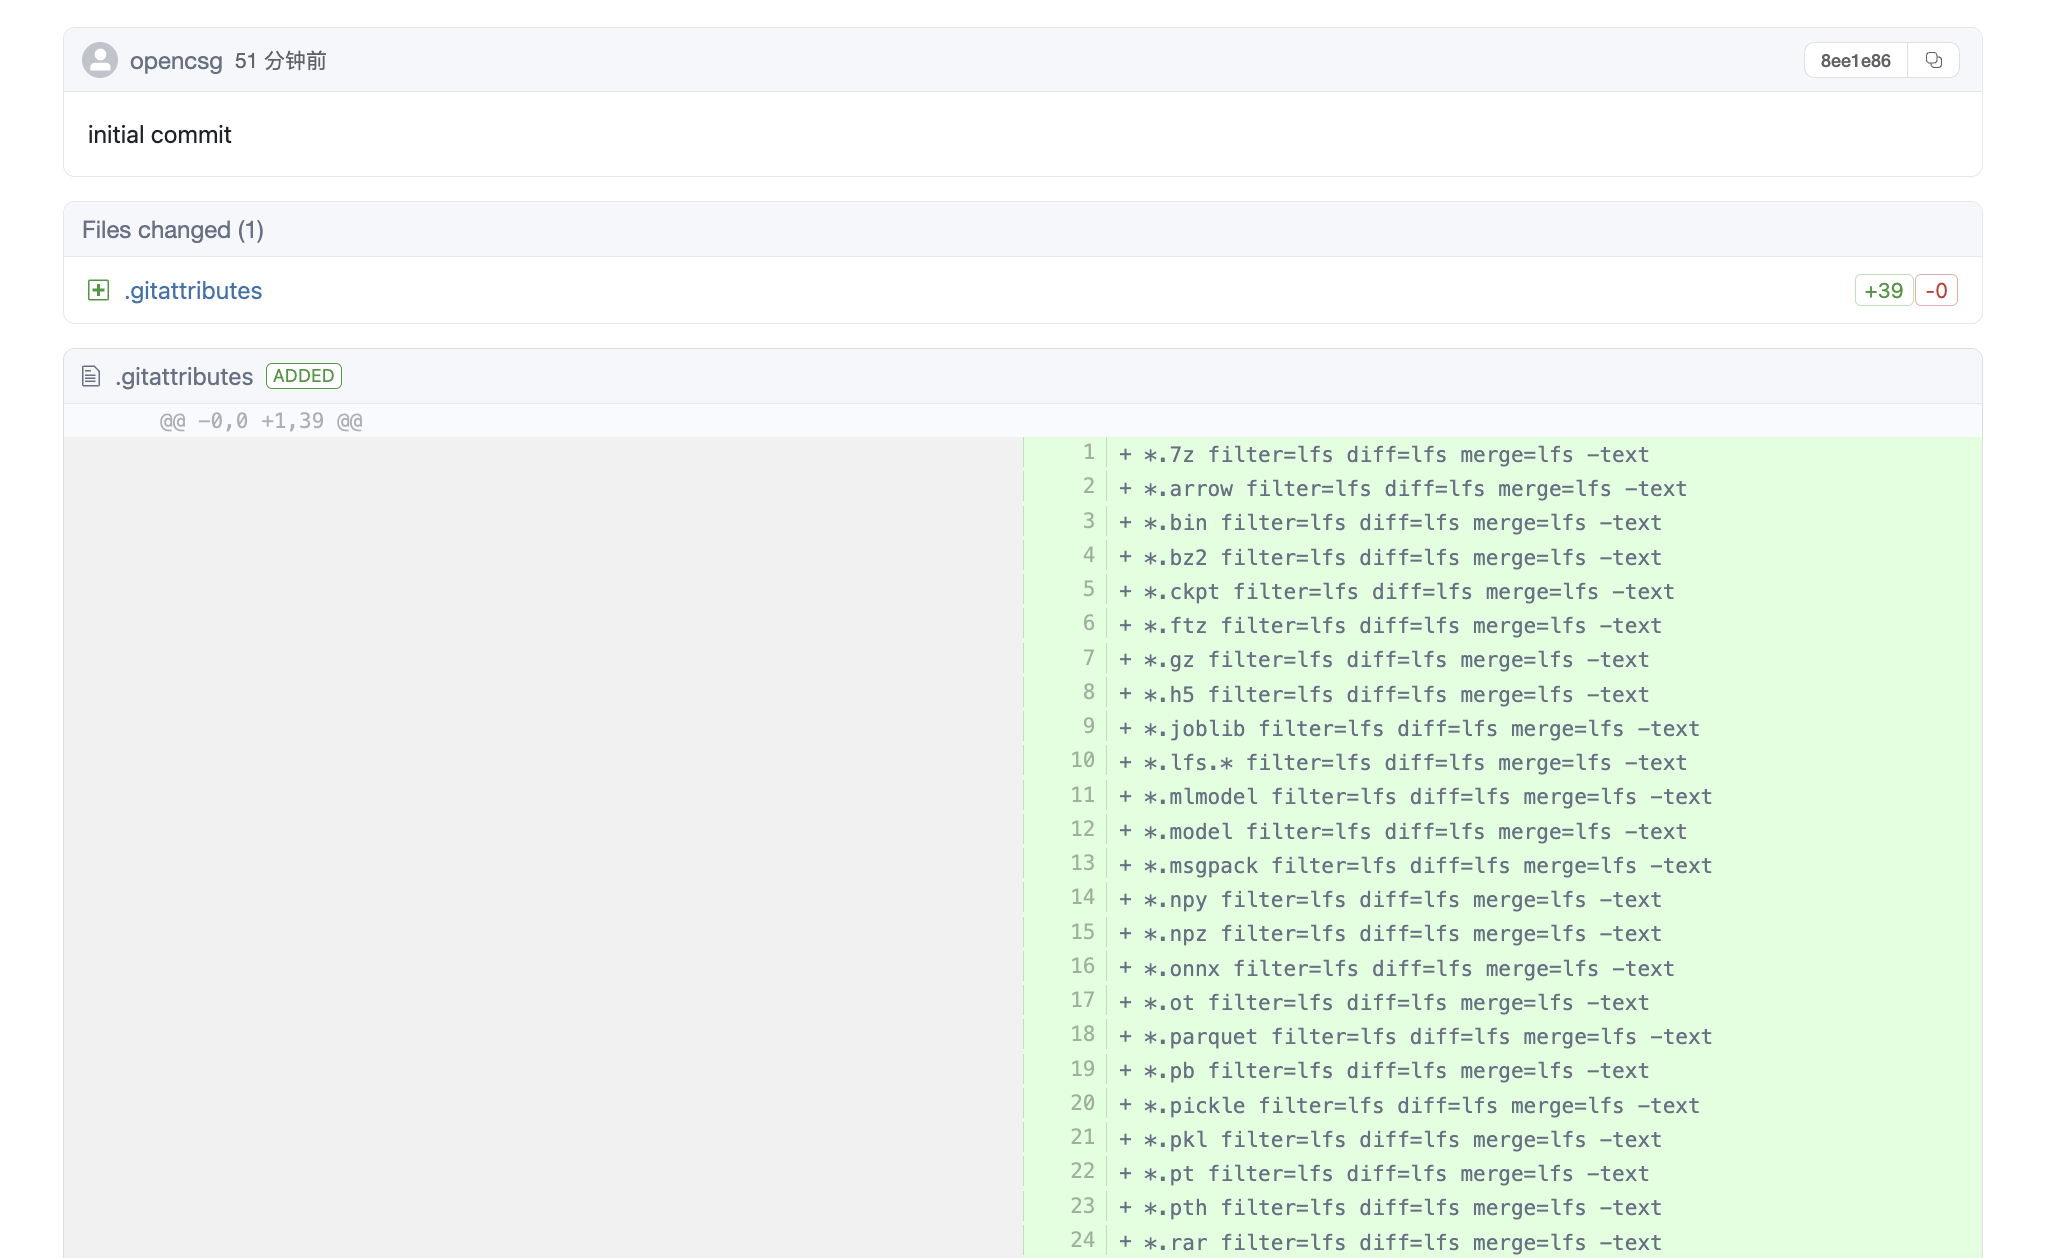
每次进行add-commit-push循环时,应用空间都会跟踪您对文件所做的每项更改。您可以浏览应用空间文件和提交,并查看每次提交引入的差异(也称为diff)。要查看历史记录,您可以点击“提交历史”。

也可以单击单个提交来查看该提交引入了哪些更改:
Viewing the Space History
Each time you perform the add-commit-push, the space tracks every change you make to the files. You can browse the model files and commits, and view the differences (also known as diff) introduced by each commit. To view the history, click on "commit history."
You can also click on an individual commit to see what changes were introduced in that specific commit:
Uploading changes Space repository contents. For runtime data retention and deletion, see Space settings.